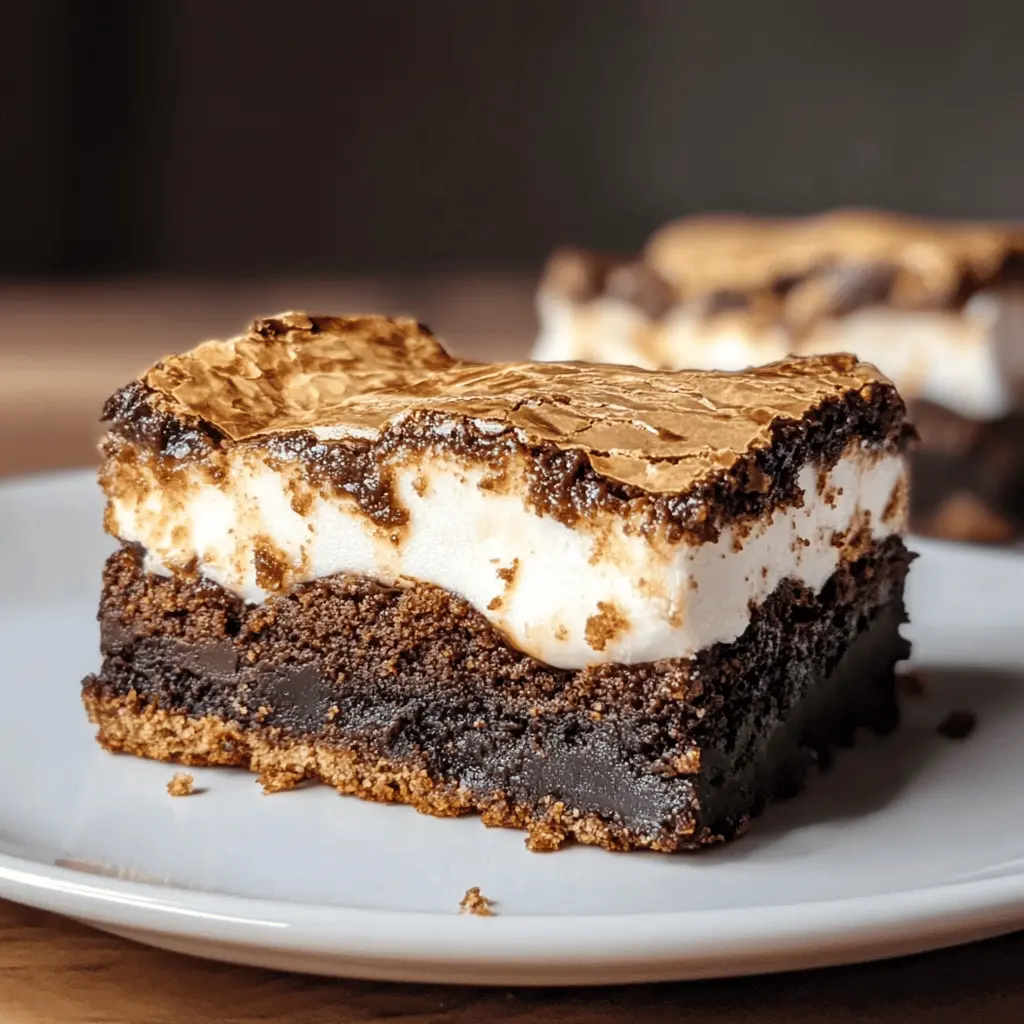
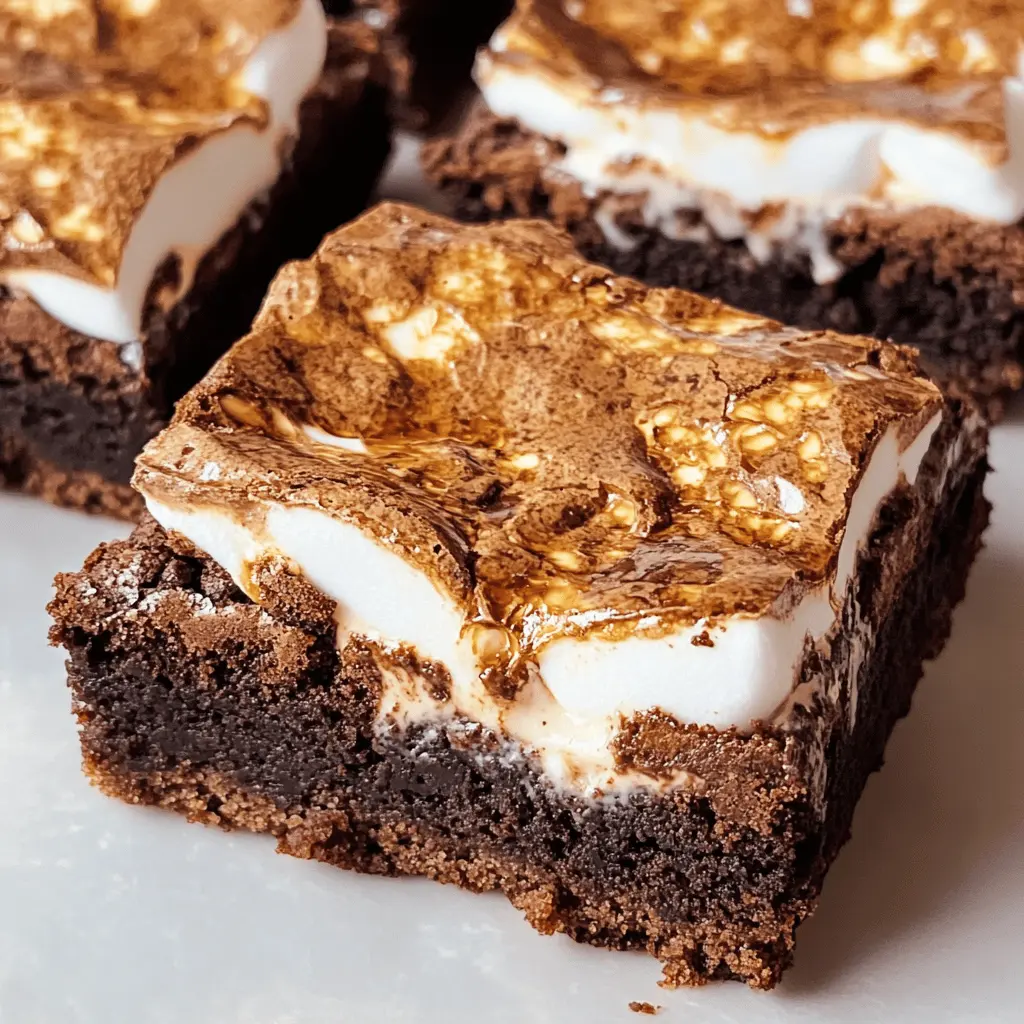
These S’mores Brownies are a fun twist on a classic treat! They have a rich chocolate brownie base, topped with gooey vanilla bean marshmallow and crunchy graham crackers. Delicious!
Seriously, what’s not to love? They’re chocolatey, sweet, and totally satisfying. I always enjoy these while camping or having friends over—everyone gets excited for dessert!
Key Ingredients & Substitutions
Unsalted Butter: This adds richness to the brownies and crust. You could substitute with coconut oil or margarine, but butter offers the best flavor. I stick with unsalted to control the saltiness.
Granulated Sugar: A key player in sweetness. If you’re looking for a healthier option, you can replace it with coconut sugar or brown sugar for a deeper flavor profile. I prefer the traditional granulated sugar in this recipe!
Cocoa Powder: For that deep chocolate taste! You can swap with Dutch-processed cocoa for a smoother flavor, but avoid using sweetened cocoa powder, as it will alter the sweetness.
Graham Cracker Crumbs: This gives the crust its distinctive flavor. If you need a gluten-free option, crushed gluten-free cookies or almond flour work well too. I often go for honey graham crackers for a sweeter touch!
Vanilla Bean: It gives a rich and aromatic flavor. If unavailable, use pure vanilla extract, but I highly recommend using the beans for the best results when time allows.
Why Is Properly Melting the Butter Important in Brownies?
Melting the butter correctly helps to create a fudgy texture in the brownies. Here’s how to do it right:
- Use low to medium heat to melt the butter gently—this prevents it from burning.
- Once melted, remove it from the heat before adding other ingredients like sugar and eggs. This helps preserve the structure of the eggs.
- Mix it well right after melting; the warmth helps to dissolve the sugar better, leading to a smooth batter.
Follow this method closely to help your brownies have that perfect dense and moist texture!
How to Make S’mores Brownies With Vanilla Bean Marshmallow
Ingredients You’ll Need:
For the Brownie Layer:
- 1 cup (2 sticks) unsalted butter
- 2 cups granulated sugar
- 1 teaspoon vanilla extract
- 4 large eggs
- 1 cup all-purpose flour
- 1 cup cocoa powder
- 1/2 teaspoon salt
- 1 cup semi-sweet chocolate chips
For the Graham Cracker Crust:
- 1 1/2 cups graham cracker crumbs
- 1/2 cup (1 stick) unsalted butter, melted
- 1/4 cup granulated sugar
- Pinch of salt
For the Vanilla Bean Marshmallow Topping:
- 1 cup granulated sugar
- 1/4 cup light corn syrup
- 1/4 cup water
- 2 large egg whites
- 1 vanilla bean, seeds scraped (or 1 teaspoon vanilla extract)
- Pinch of salt
How Much Time Will You Need?
This delicious recipe takes about 20 minutes to prepare and around 30-40 minutes to bake and cool, plus an additional 10 minutes for making the marshmallow topping. Total time is roughly 1 hour! Perfect for a delightful treat any day of the week!
Step-by-Step Instructions:
1. Prepare the Graham Cracker Crust:
First, preheat your oven to 350°F (175°C). In a medium bowl, mix together the graham cracker crumbs, melted butter, sugar, and a pinch of salt until everything is well combined. Then, press this mixture firmly into the bottom of a greased 9×13 inch baking pan to form a nice, even layer. Bake this in the oven for about 8-10 minutes, then take it out and let it cool.
2. Make the Brownie Layer:
Now let’s work on the brownie layer! Melt the butter in a large saucepan over medium heat. Once melted, remove it from the heat and stir in the sugar, vanilla extract, and eggs until everything is mixed well. In another bowl, sift together the flour, cocoa powder, and salt. Gradually add this dry mix to the wet mix, stirring just until combined. Finally, fold in those delicious chocolate chips! Pour the brownie batter over your cooled graham cracker crust, spreading it out evenly. Bake for 25-30 minutes, or until a toothpick inserted into the center comes out with a few moist crumbs.
3. Prepare the Vanilla Bean Marshmallow Topping:
While your brownies are baking and cooling, let’s make the marshmallow topping! In a saucepan, combine the sugar, corn syrup, and water. Cook this over medium heat without stirring until it reaches a soft boil (that’s about 240°F on a candy thermometer). While your syrup cooks, beat the egg whites and salt in a large bowl until they form stiff peaks. Once your syrup is ready, slowly pour it into the egg whites while continuing to beat until the mixture becomes glossy and thick (this should take about 10 minutes). Don’t forget to stir in the vanilla bean seeds or extract for that delightful flavor!
4. Assemble:
After your brownies have cooled completely, it’s time to spread that fluffy marshmallow topping evenly over the top. If you have a kitchen torch, carefully toast the marshmallow topping until it’s a lovely golden brown. If you don’t have one, you can place the brownies under the broiler for a couple of minutes—just make sure to keep an eye on it so it doesn’t burn!
5. Serve:
Let your brownies cool completely before cutting them into squares. Now, you can enjoy these S’mores Brownies with Vanilla Bean Marshmallow as a delightful twist on the classic treat! Happy baking!
Can I Use Different Types of Chocolate in the Brownie Layer?
Absolutely! You can swap semi-sweet chocolate chips for dark chocolate, milk chocolate, or even white chocolate according to your taste preference. Just keep in mind that different types of chocolate will alter the flavor and sweetness of the brownies slightly.
How Can I Make These Brownies Gluten-Free?
To make a gluten-free version, substitute the all-purpose flour with a gluten-free flour blend. Ensure that any other packaged ingredients, like the graham cracker crumbs, are also labeled gluten-free to maintain the integrity of the recipe!
What’s the Best Way to Store Leftover Brownies?
Store any leftover S’mores brownies in an airtight container at room temperature for up to 3 days. If you want them to last longer, you can refrigerate them for about a week. For longer storage, consider wrapping individual pieces tightly in plastic wrap and freezing them for up to 3 months. Just thaw at room temperature before enjoying!
Can I Make the Marshmallow Topping Without a Candy Thermometer?
If you don’t have a candy thermometer, don’t worry! You can test the syrup by dropping a little into cold water; if it forms a soft ball, it’s ready. Just take care to heat it until it starts to bubble, and keep an eye on the consistency for the best results!