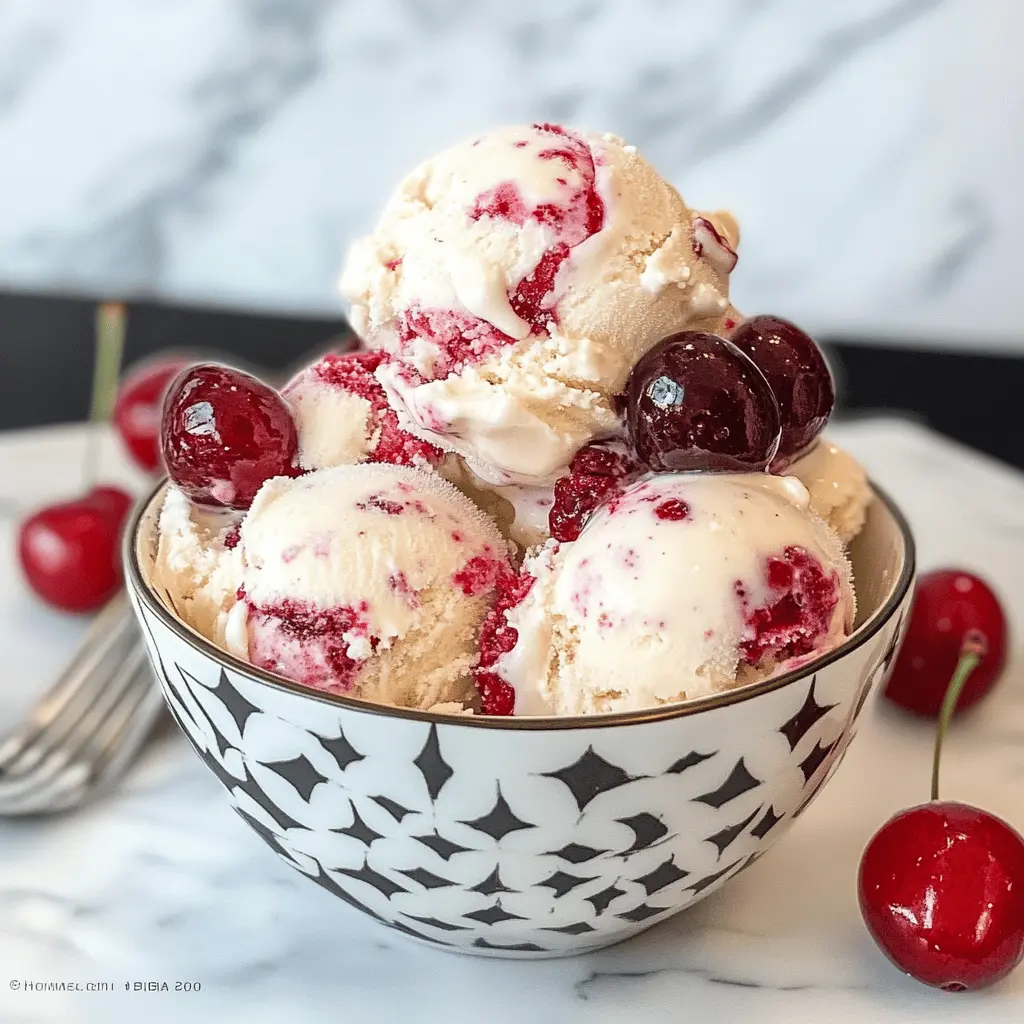
This homemade cherry vanilla ice cream is creamy and bursting with fruit flavor. With just a few ingredients, you can enjoy a delightful treat that’s perfect for summer days!
Making this ice cream is a breeze, and the sweet cherry swirls make it extra special. I love serving it on warm days, and don’t worry, there’s always room for seconds! 🍦
Key Ingredients & Substitutions
Heavy Cream: This ingredient makes the ice cream rich and creamy. If you’re looking for a lighter version, you could use half-and-half instead, but the texture won’t be as rich.
Whole Milk: Whole milk gives the ice cream a nice creaminess. You can swap it for 2% milk, but the ice cream may not be as rich.
Granulated Sugar: While granulated sugar is best for sweetness, you could use coconut sugar or honey as an alternative. Just remember that honey will add a different flavor to the ice cream.
Cherries: Fresh cherries are ideal for their vibrant flavor. If they’re out of season, frozen cherries work too. You can also try using another fruit like strawberries for a different twist.
Cherry Preserves: These add an extra layer of flavor and color. If you don’t have preserves, you can skip them or use a different fruit jam, like raspberry or strawberry!
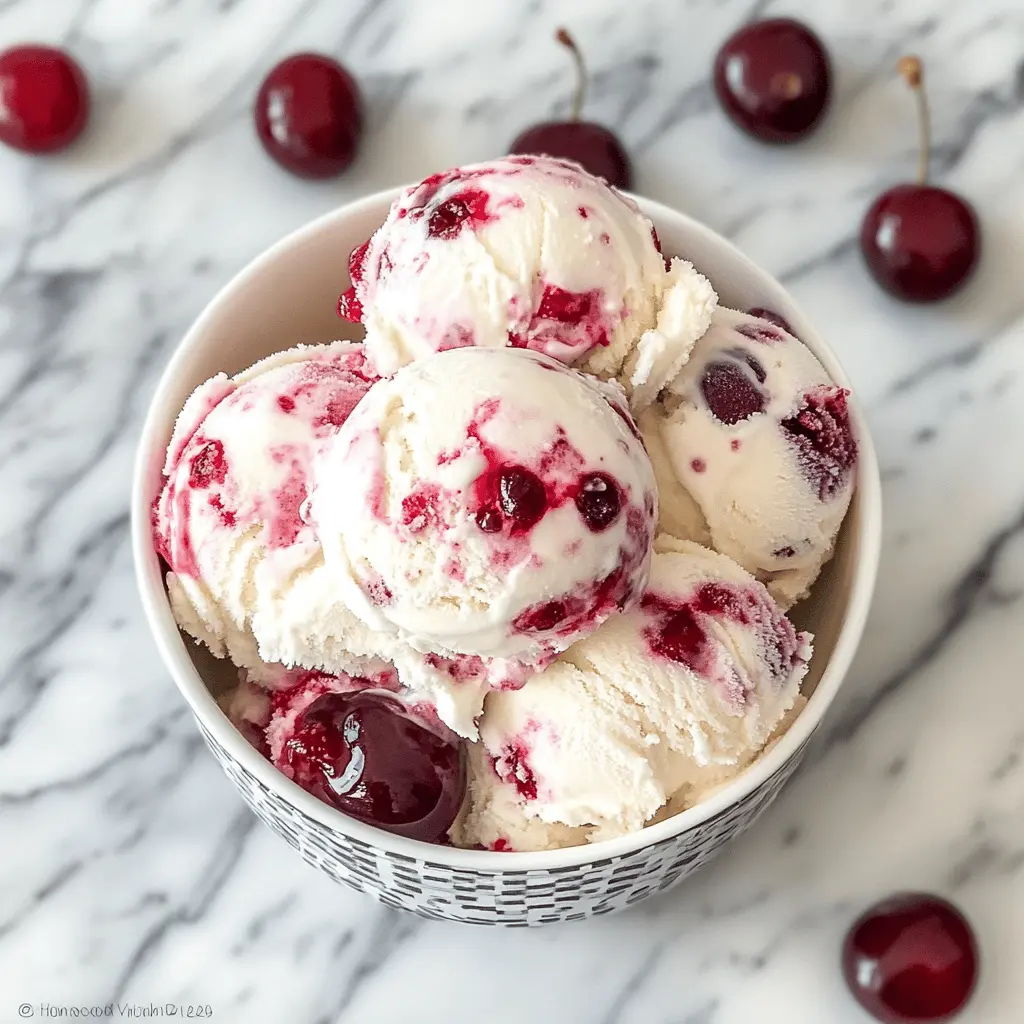
How Can I Create the Perfect Swirl in My Ice Cream?
Creating that beautiful swirl with the cherry preserves is fun and simple! First, prepare your soft-serve ice cream after churning. Here’s how to achieve a lovely marbled effect:
- After churning, scoop half of the ice cream into a container.
- Spoon half of the cherry preserves over this layer of ice cream.
- Add the second half of the ice cream on top.
- Use a spoon or butter knife to gently swirl the preserves into the ice cream, making sure not to mix it completely—just a light swirl for a lovely marble effect!
This technique not only looks great but also ensures that each scoop has a nice mix of both cherry flavor and creamy vanilla. Enjoy your homemade cherry vanilla ice cream!
Easy Homemade Cherry Vanilla Ice Cream
Ingredients You’ll Need:
- 2 cups heavy cream
- 1 cup whole milk
- 3/4 cup granulated sugar
- 1 tablespoon pure vanilla extract
- 1 1/2 cups fresh or frozen cherries, pitted and chopped
- 1/4 cup cherry preserves or cherry jam (optional, for extra cherry flavor and swirl)
- Pinch of salt
How Much Time Will You Need?
This recipe will take approximately 30 minutes of active time to prepare, plus an additional 4 hours for the ice cream to freeze. You’ll spend a little time mixing and churning before letting it set in the freezer. It’s an easy and rewarding treat!
Step-by-Step Instructions:
1. Mix the Base:
In a medium bowl, whisk together the heavy cream, whole milk, granulated sugar, vanilla extract, and a pinch of salt. Keep whisking until the sugar is fully dissolved. You want this mixture to be nice and smooth—this is what makes your ice cream creamy!
2. Churn the Ice Cream:
Next, pour your creamy mixture into an ice cream maker. Follow the instructions specific to your machine, but usually, it will take about 20-25 minutes to churn the mixture until it reaches a soft-serve consistency. Just watch it closely!
3. Prepare the Cherries:
While the ice cream is churning, it’s time to prepare the cherries. If you’re using fresh cherries, make sure to pit and chop them into small pieces. If you prefer a stronger flavor, warm the cherry preserves slightly so it’s easier to swirl into the ice cream later.
4. Add the Cherries:
In the last 5 minutes of churning, add the chopped cherries to the ice cream mixture. This will help distribute the juicy cherry bits evenly throughout your ice cream.
5. Layer and Swirl:
Once the ice cream is ready, transfer half of it into a freezer-safe container. Spoon half of the cherry preserves over this layer, then add the remaining ice cream on top. To create a beautiful marbled effect, gently swirl the cherry preserves through the ice cream using a spoon or a butter knife.
6. Freeze:
Cover your container with a lid or plastic wrap and place it in the freezer. Let it freeze for at least 4 hours, or until it is firm enough to scoop.
7. Serve and Enjoy:
When you’re ready to serve, take the ice cream out of the freezer and let it sit for a few minutes to soften just a bit. This makes scooping much easier! Then, scoop it into bowls or cones and enjoy your homemade cherry vanilla ice cream!
This delightful treat combines a creamy vanilla custard base with sweet cherry pieces and eye-catching swirls. Perfect for summer or any time you crave a little nostalgia. Enjoy every creamy bite!
FAQ for Easy Homemade Cherry Vanilla Ice Cream
Can I Use Non-Dairy Alternatives for This Ice Cream?
Absolutely! You can substitute heavy cream with full-fat coconut milk or a nut-based cream, and use almond or soy milk instead of whole milk. Keep in mind that the texture and flavor may vary slightly, but it will still be delicious!
What Should I Do If I Don’t Have an Ice Cream Maker?
If you don’t have an ice cream maker, you can still make this recipe! Pour the ice cream mixture into a shallow dish and freeze it. Stir it vigorously every 30 minutes for about 2-3 hours to break up ice crystals until it reaches the desired consistency.
How to Store Leftover Ice Cream?
Store any leftover ice cream in an airtight container in the freezer. It should stay fresh for up to two weeks. To keep it soft and scoopable, you may want to let it sit out for a few minutes before serving.
Can I Add Other Mix-Ins?
Sure! Feel free to customize this recipe by adding other mix-ins like crushed cookies, chocolate chips, or nuts during the last few minutes of churning. Just make sure the additions are small enough to blend well into the ice cream!