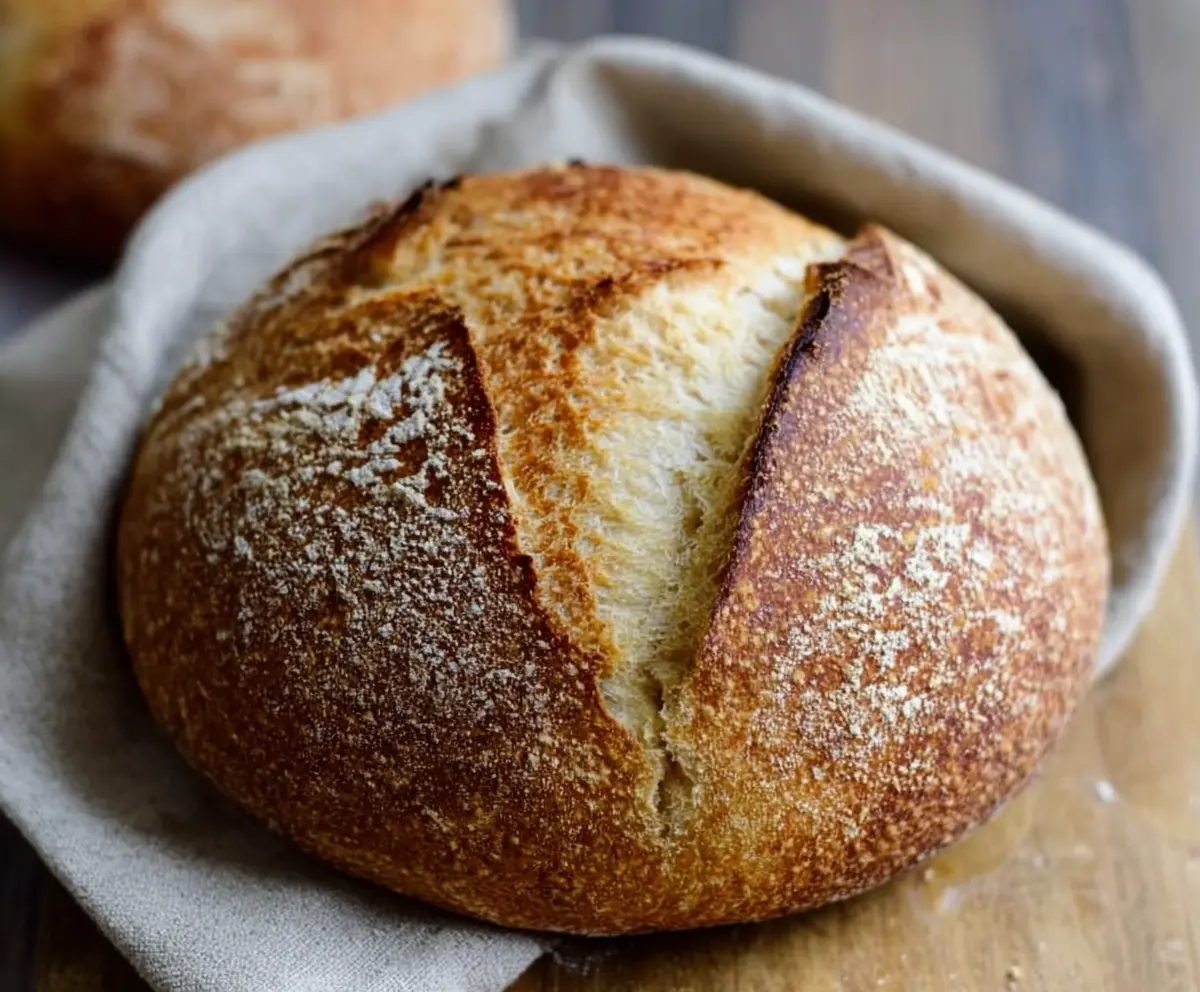
There’s nothing quite like baking your own sourdough bread, and this Best Ever Sourdough Bread Recipe breaks it down step-by-step so you can get a crusty loaf with a soft, chewy inside right at home. It’s all about that tangy flavor from the natural starter, plus the satisfying crackly crust that makes every slice feel special.
I love this recipe because it walks you through everything carefully, from feeding your starter to shaping the dough and getting the perfect oven spring. If you’ve never baked sourdough before, don’t worry — I’ve been there, and this guide makes it much easier and less scary. Plus, there’s nothing better than that fresh-baked smell filling your kitchen!
When I make this bread, I like to slice it thick and toast it with a bit of butter or use it for hearty sandwiches. It’s a great way to impress friends and family without needing tons of fancy ingredients or equipment. Once you try baking with this recipe, you might find yourself wanting to bake it again and again!
Key Ingredients & Substitutions
Bread flour: This gives your sourdough a great structure because it has more protein, which means more gluten. If you don’t have bread flour, all-purpose flour will still work—you might get a slightly softer crumb.
Sourdough starter: This is the heart of your bread’s flavor and rise. Make sure your starter is bubbly and active. If you’re new to starters, you can buy one or even use some from a friend.
Water: Use room temperature water to help the yeast and bacteria work well. If your tap water is heavily chlorinated, try filtered or bottled water for better fermentation.
Salt: Adds flavor and controls fermentation. Don’t skip it! You can use sea salt or kosher salt, but avoid iodized salt since it might affect the fermentation.
How Do You Get That Perfect Crust and Oven Spring?
The key to a great crust and nice rise is baking in a hot, covered dutch oven. Here’s how:
- Preheat the Dutch oven in your oven at 450°F (230°C) for 30 minutes. This ensures it’s very hot when the dough goes in.
- Gently transfer your shaped and proofed dough into the hot pot—use parchment paper to avoid any sticking.
- Score the top to let steam escape and allow the bread to expand properly.
- Cover with the lid for the first 20 minutes to trap steam—this helps develop a powerful oven spring and a crust that’s crackly but not tough.
- Remove the lid and bake another 20-25 minutes to deepen the color and crisp the crust.
Remember, patience is key—let the bread cool completely before slicing to get those beautiful holes and chewy texture inside!

Equipment You’ll Need
- Large mixing bowl – big enough to hold your dough as it rises and stretches, plus easy to clean.
- Dough scraper – helps you mix and fold sticky dough without mess or sticky hands.
- Banneton (proofing basket) or a bowl with a floured towel – keeps the dough shape during proofing and creates a nice pattern.
- Dutch oven with lid – perfect for baking sourdough because it traps steam to create a crispy crust.
- Sharp knife or lame – you’ll use this to score the dough right before baking, which helps it expand.
- Parchment paper – makes moving the dough safer and cleaner when transferring into the hot Dutch oven.
- Kitchen scale – for accurate measuring of ingredients, essential for consistent bread results.
Flavor Variations & Add-Ins
- Add 1/2 cup chopped olives, herbs, or roasted garlic during mixing for a flavorful twist.
- Swap 50g of bread flour with whole wheat or rye flour to deepen the taste and add nutrition.
- Mix in 1/4 cup seeds (like sunflower, pumpkin, or flax) for extra crunch and texture.
- To make a cheesy sourdough, fold in 1/2 cup shredded sharp cheddar or Parmesan just before shaping.
Best Ever Sourdough Bread Recipe (Step-by-Step)
Ingredients You’ll Need:
- 500g (4 cups) bread flour (or all-purpose flour)
- 350g (1 1/2 cups) water, at room temperature
- 100g (about 1/2 cup) active sourdough starter (fed and bubbly)
- 10g (2 tsp) salt
- Additional flour for dusting
How Much Time Will You Need?
This recipe takes about 8 to 12 hours total. Most of the time is hands-off, allowing the dough to ferment and proof with some active work needed for mixing, folding, shaping, and baking. Plan ahead because the slow rise and proof bring out that perfect sourdough flavor.
Step-by-Step Instructions:
1. Mix the Dough
Start by mixing the flour and water in a large bowl until just combined into a shaggy dough. Cover your bowl and let it rest for 30 minutes to 1 hour. This step, called autolyse, helps the flour absorb water and begins gluten development.
2. Add Starter and Salt
Add your sourdough starter and salt to the rested dough. Mix everything together using your hands or a dough scraper until well combined. Don’t worry if it’s sticky; it should be elastic.
3. Bulk Fermentation with Stretch & Folds
Cover the dough with a damp towel or plastic wrap and let it ferment at room temperature for 4 to 6 hours. During the first 2 hours, perform stretch and folds every 30 minutes: reach under the dough, gently stretch it upwards, then fold it over the top. This builds strength in your dough.
4. Shape the Dough
After fermentation, turn your dough onto a floured surface. Shape it gently into a round loaf (boule) by folding edges into the center and then pulling it towards you to create surface tension.
5. Proof the Dough
Place the dough seam-side up into a well-floured banneton or a bowl lined with a floured towel. Cover it and let it proof for 2 to 4 hours at room temperature, or refrigerate overnight for better flavor development.
6. Preheat Oven and Dutch Oven
Preheat your oven to 450°F (230°C) and place a Dutch oven with its lid inside to heat for 30 minutes. This ensures a hot baking environment, important for a good rise and crust.
7. Score and Bake
Carefully remove the Dutch oven. Turn your dough onto a parchment paper-lined surface, seam side down. Use a sharp knife or lame to score a deep slash on top. Transfer the dough with the parchment into the Dutch oven. Cover with the lid and bake for 20 minutes.
8. Uncover and Finish Baking
Remove the lid and bake uncovered for another 20 to 25 minutes, until the crust is deep golden brown and crackly.
9. Cool Completely
Take the bread out of the oven and cool it on a wire rack for at least 1 hour before slicing. This cooling step allows the crumb to set perfectly.
Enjoy your delicious, crusty, tangy sourdough bread as toast, sandwiches, or simply with butter!
Can I Use All-Purpose Flour Instead of Bread Flour?
Yes, all-purpose flour works well if you don’t have bread flour. The texture might be a bit softer, but your sourdough will still taste great!
How Do I Know When My Starter Is Ready to Use?
Your starter should be bubbly, doubled in size, and pass the “float test” (a spoonful floats in water) before you mix it into the dough for best results.
Can I Refrigerate the Dough During Proofing?
Absolutely! Proofing overnight in the fridge slows fermentation and develops deeper flavor. Just bring the dough back to room temperature before baking for best oven spring.
How Should I Store Leftover Bread?
Store leftover sourdough wrapped loosely in a paper bag or bread box at room temperature for up to 3 days. For longer storage, slice and freeze; toast slices straight from the freezer for fresh taste.