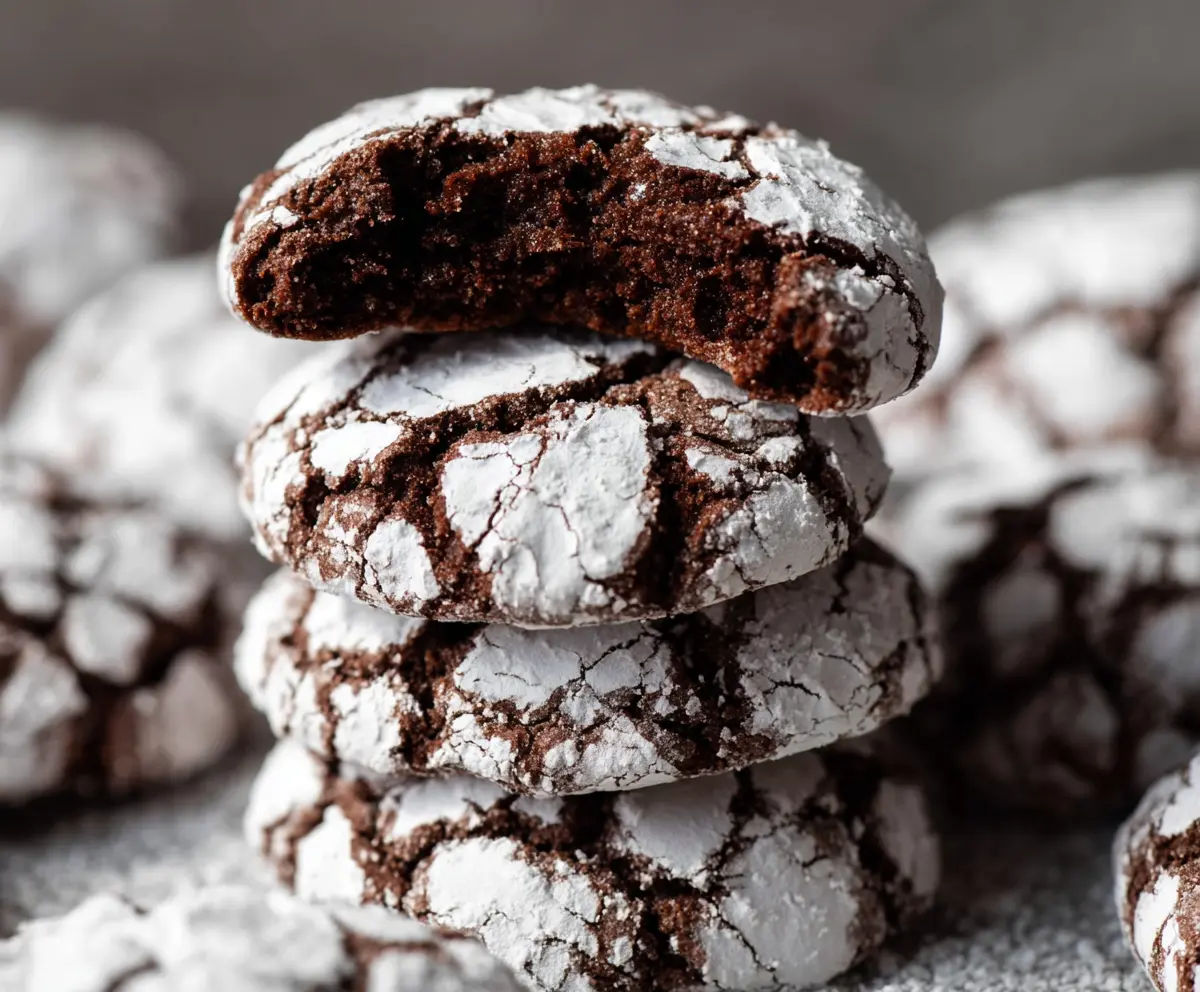
Chocolate Crinkle Cookies are those soft, chewy chocolate treats with a lovely crackled powdered sugar coating that makes them look like little snow-covered gems. They have a rich chocolate flavor and a slightly fudgy center that almost melts in your mouth with every bite.
I love making these cookies around the holidays or whenever I’m craving something sweet and chocolatey. The best part is watching the dough spread and crack in the oven, creating that signature crinkle pattern—it’s always a fun surprise! Plus, the dough is easy enough to work with, so I often find myself sneaking a piece of it before baking.
These cookies are perfect with a glass of cold milk or a warm cup of coffee. I like to pack some in a tin for sharing with friends, and they always get compliments. They’re a crowd-pleaser that feels special but is super simple to make, which makes me come back to the recipe again and again.
Key Ingredients & Substitutions
All-purpose flour: This gives structure to your cookies. You can swap for gluten-free flour blends if needed, but the texture might be a bit different.
Cocoa powder: Unsweetened cocoa delivers the deep chocolate flavor. Dutch-processed cocoa can also work, but it will affect the cookie’s rise slightly.
Baking powder: Helps the cookies rise and form those cracks. Don’t replace it with baking soda here, as the reaction is different.
Vegetable oil: Keeps the cookies moist and soft. You can use melted butter for a richer taste but expect firmer cookies.
Powdered sugar (for coating): The generous coating creates the crinkle effect as the cookies bake. Granulated sugar won’t give the same look or texture.
How Do You Get Those Perfect Cracks on Chocolate Crinkle Cookies?
The secret lies in chilling the dough and coating it well with powdered sugar.
- Chill the dough for at least 2 hours. This firms it up so it doesn’t spread too fast in the oven, allowing cracks to form.
- Roll the dough balls generously in powdered sugar. The thick coating cracks as the cookie expands, creating the signature look.
- Bake at 350°F (175°C) just until the edges set but the centers stay soft—about 10-12 minutes.
- Removing cookies while slightly soft helps keep them chewy inside.
Patience is key! The chilling step and powdered sugar coating work together to create that beautiful crackled top and soft, fudgy center.
Equipment You’ll Need
- Mixing bowls – to combine your dry and wet ingredients easily without making a mess.
- Whisk or electric mixer – helps mix the batter smoothly and quickly.
- Baking sheet – for baking your cookies evenly in the oven.
- Parchment paper or silicone baking mat – prevents cookies from sticking and makes cleanup simple.
- Spoon or cookie scoop – helps you portion out even-sized dough balls.
- Wire rack – for cooling cookies so they don’t get soggy on the bottom.
Flavor Variations & Add-Ins
- Chocolate chips – stir in half a cup for extra melty chocolate bites.
- Espresso powder – add 1 teaspoon to boost the chocolate flavor without making it taste like coffee.
- Orange zest – mix in a teaspoon for a fresh citrus twist that pairs well with chocolate.
- Chopped nuts – walnuts or pecans add a nice crunch and contrast to the soft cookie texture.
How to Make Chocolate Crinkle Cookies?
Ingredients You’ll Need:
Main Ingredients:
- 1 cup all-purpose flour
- ½ cup unsweetened cocoa powder
- 1 teaspoon baking powder
- ¼ teaspoon salt
- 1 cup granulated sugar
- ¼ cup vegetable oil
- 2 large eggs
- 1 teaspoon vanilla extract
- ½ cup powdered sugar (for coating)
How Much Time Will You Need?
This recipe takes about 10 minutes to prepare, plus 2 hours chilling time for the dough to firm up. Baking takes 10-12 minutes per batch, then about 5 minutes to cool on the pan before transferring to a rack. In total, plan for roughly 2 hours and 30 minutes from start to finish, most of that time is hands-off chilling.
Step-by-Step Instructions:
1. Mix the Dry Ingredients:
In a medium bowl, whisk together the flour, cocoa powder, baking powder, and salt until evenly combined. This ensures your cookies have a uniform chocolate flavor and texture.
2. Prepare the Wet Mixture:
In a large bowl, blend the granulated sugar and vegetable oil until smooth. Add the eggs one at a time, beating well after each addition. Then stir in the vanilla extract for a nice aroma and subtle flavor boost.
3. Combine Wet and Dry Ingredients:
Gradually add the dry mix into the wet ingredients, stirring gently until the dough comes together. Make sure everything is fully incorporated but avoid over-mixing.
4. Chill the Dough:
Cover the dough with plastic wrap or a lid and refrigerate for at least 2 hours. Chilling makes the dough firm enough to handle and helps the cookies hold their shape while baking, producing those beautiful crinkles.
5. Prepare to Bake:
Preheat your oven to 350°F (175°C). Line a baking sheet with parchment paper to prevent sticking and make cleanup easier.
6. Form and Coat the Cookies:
Shape chilled dough into 1-inch balls. Roll each ball generously in powdered sugar, coating them completely. This powdered sugar layer creates the signature crackled appearance as the cookies expand during baking.
7. Bake:
Place the sugar-coated balls onto the baking sheet, spacing them about 2 inches apart to allow spreading. Bake for 10-12 minutes or until the cookies crackle on top and are set around the edges but still soft inside.
8. Cool and Enjoy:
Let cookies cool on the baking sheet for 5 minutes, then transfer them to a wire rack to cool completely. This prevents them from becoming soggy and keeps them chewy inside while crispy on the outside.
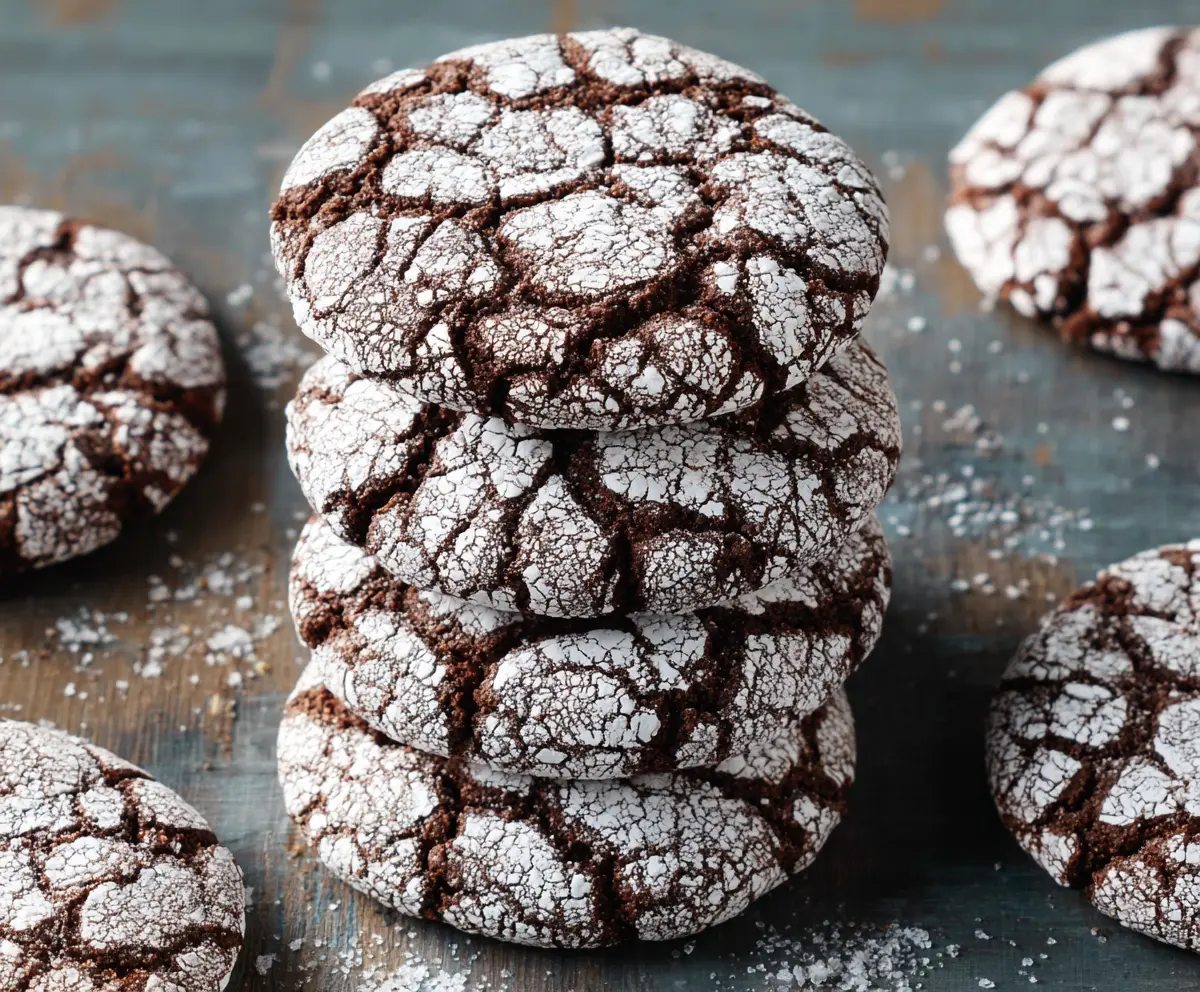
Now you have delicious, soft, fudgy Chocolate Crinkle Cookies with a beautiful snowy crackled glaze on top—perfect for sharing or enjoying with a warm drink!
Can I Use Butter Instead of Vegetable Oil?
Yes, you can substitute butter for vegetable oil to add a richer flavor. Use melted butter in the same amount (¼ cup). Keep in mind that the texture might be a bit firmer and less chewy.
How Long Can I Store Chocolate Crinkle Cookies?
Store the cookies in an airtight container at room temperature for up to 4 days. For longer storage, freeze them in a sealed container for up to 3 months. Thaw at room temperature before serving.
Can I Make the Dough Ahead of Time?
Absolutely! Refrigerate the dough covered for up to 3 days or freeze it for up to 1 month. If frozen, thaw overnight in the fridge before shaping and baking.
Why Are My Cookies Not Cracking?
Make sure to chill the dough well before baking and roll the dough balls generously in powdered sugar. The chilling helps prevent spreading too quickly, and the powdered sugar coating creates those signature cracks as the cookies bake.