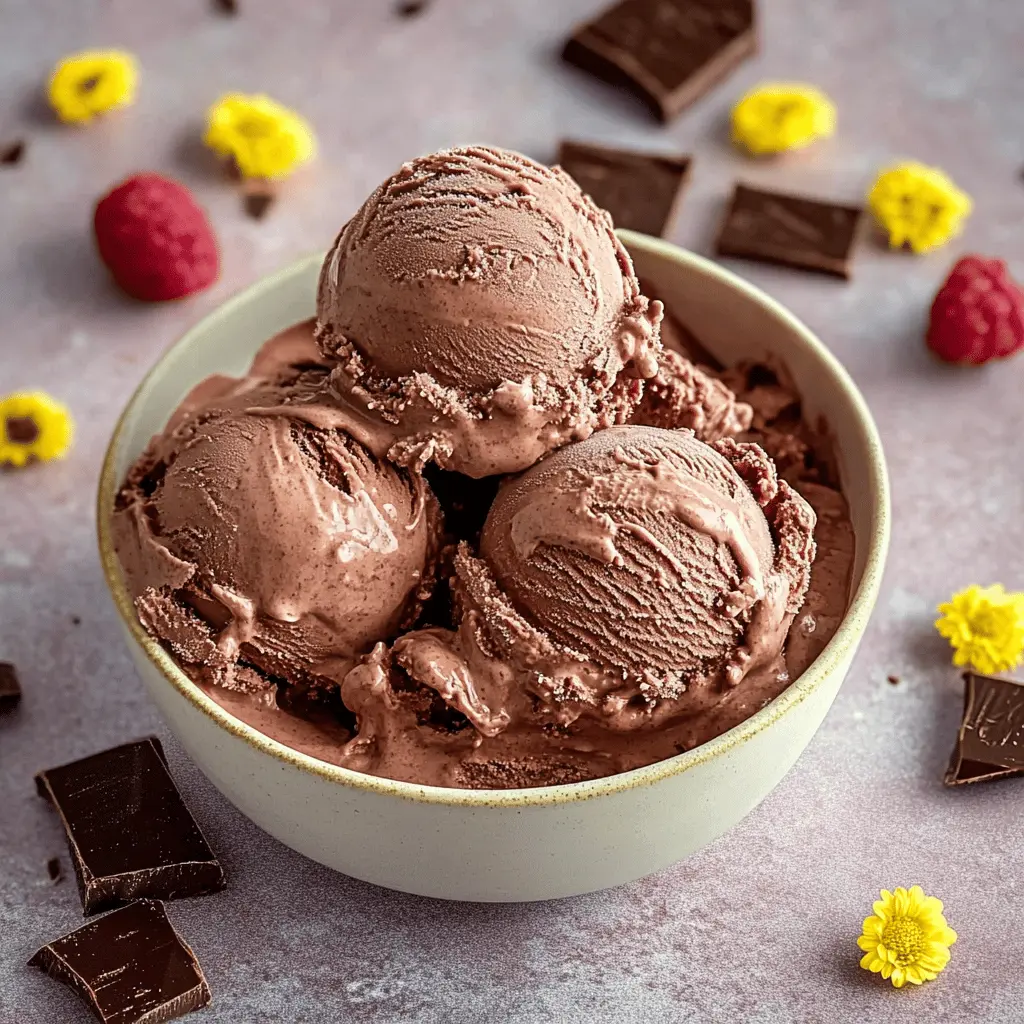
This easy homemade chocolate ice cream is creamy, rich, and oh-so-chocolatey! With just a few simple ingredients, you can whip up a delicious treat right at home.
I love making this ice cream on a warm day. It’s super fun to scoop it out and enjoy a cone while feeling like a kid again! Trust me, it’s hard to stop at just one scoop! 🍦
Key Ingredients & Substitutions
Heavy Cream: This gives the ice cream its rich and creamy texture. You could substitute with half-and-half or light cream for a lighter version, but it won’t be as creamy.
Whole Milk: It’s best for balancing the richness of the cream. If you’re looking for a dairy-free option, try using almond, coconut, or oat milk instead.
Granulated Sugar: This sweetens the ice cream. You can use brown sugar for a deeper flavor or a sugar substitute like stevia or agave syrup if you’re watching sugar intake.
Unsweetened Cocoa Powder: It’s essential for that chocolate flavor. If you prefer, you can use Dutch-processed cocoa for a smoother taste.
Bittersweet or Semi-Sweet Chocolate: I like using semi-sweet chocolate for a perfect balance of sweetness. Dark chocolate can work well if you want it richer, or you could use milk chocolate for a sweeter ice cream!
Vanilla Extract: Adds a nice hint of flavor. If you’re in a pinch, you could use vanilla bean paste or even vanilla essence, but real extract brings out a better taste.
How Do I Ensure My Ice Cream Turns Out Creamy?
The key to creamy ice cream lies in the churning and freezing process. Ensure your mixture is well chilled before churning to create the best texture. Here’s how to keep it creamy:
- Chill your base for at least 2 hours or overnight. The colder it is, the better it churns!
- Churn until it reaches a soft-serve consistency – don’t over-churn or it can become too hard.
- Transfer it to an airtight container right after churning to prevent ice crystals from forming.
- Let it freeze for at least 4 hours before serving for the best texture.
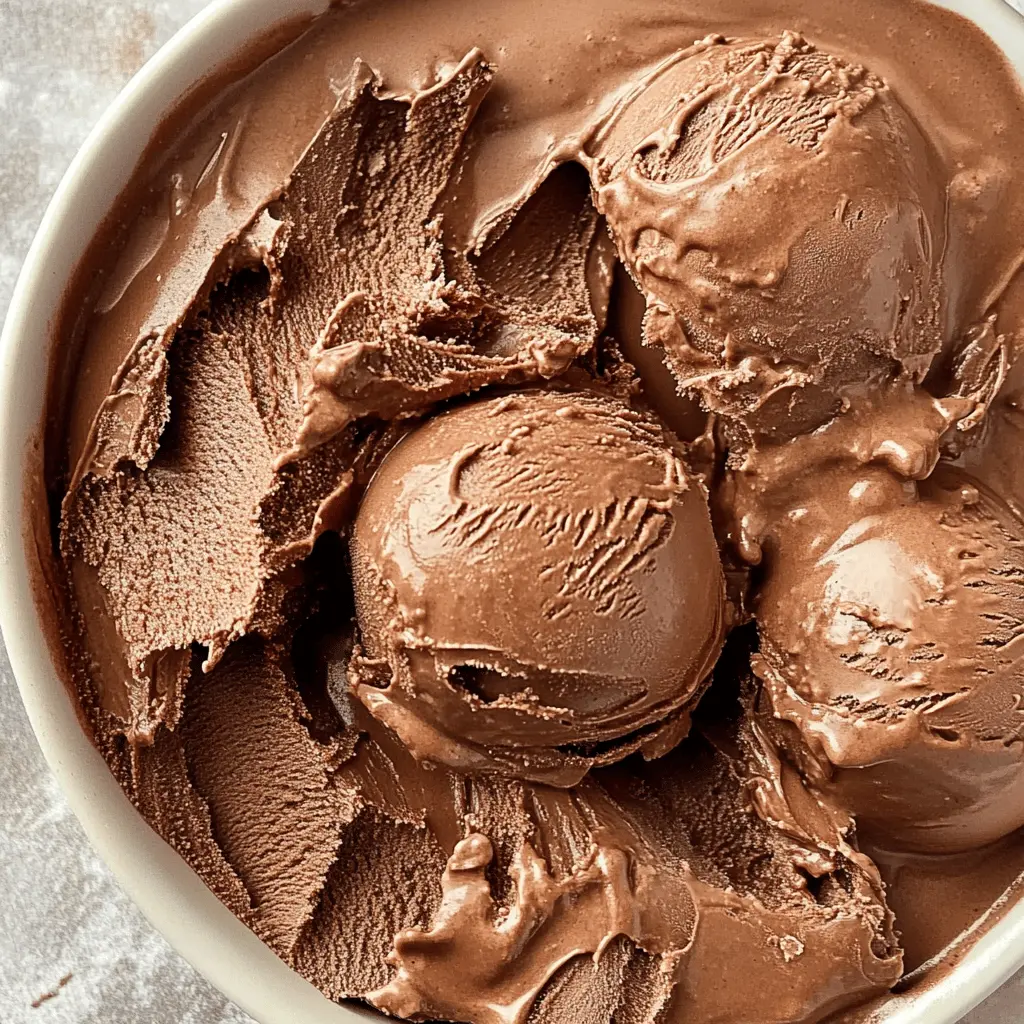
With these tips, you’ll have a smooth and delicious chocolate ice cream that you (and anyone who tries it) will love! Enjoy! 🍫🍦
Easy Homemade Chocolate Ice Cream
Ingredients You’ll Need:
- 2 cups heavy cream
- 1 cup whole milk
- 3/4 cup granulated sugar
- 1/2 cup unsweetened cocoa powder
- 4 ounces bittersweet or semi-sweet chocolate, chopped
- 1 teaspoon pure vanilla extract
- Pinch of salt
How Much Time Will You Need?
This delightful chocolate ice cream recipe will take about 20 minutes to prepare, plus at least 2 hours of chilling time and an additional 4 hours in the freezer to firm it up. Total time: approximately 6 hours. Perfect for a weekend treat!
Step-by-Step Instructions:
1. Prepare the Chocolate Base:
In a medium saucepan, combine the whole milk, granulated sugar, unsweetened cocoa powder, and a pinch of salt. Place over medium heat and whisk continuously until the sugar and cocoa are completely dissolved. Keep an eye on it and make sure it gets hot, but do not let it boil!
2. Melt the Chocolate:
Once the mixture is hot and smooth, take the saucepan off the heat. Immediately add the chopped bittersweet or semi-sweet chocolate and stir until the chocolate is fully melted and the mixture is completely smooth. You want it to be rich and chocolaty!
3. Mix in the Cream:
Next, stir in the heavy cream and vanilla extract. Mix everything together until it’s well combined and creamy. This is where the magic happens – your base is coming together!
4. Chill the Mixture:
Cover the chocolate mixture with plastic wrap or a lid and place it in the refrigerator. Let it chill for at least 2 hours, or overnight if you have the time. This helps the flavors develop and ensures a smoother texture.
5. Churn the Ice Cream:
Once your mixture is thoroughly chilled, pour it into your ice cream maker. Churn according to the manufacturer’s instructions, usually about 20-25 minutes, until it reaches a soft-serve consistency. You’ll start to see it transform into ice cream!
6. Freeze to Firm Up:
Transfer the churned ice cream into an airtight container. Smooth it out on top and seal it tightly. Place it in the freezer for at least 4 hours, or until it is firm enough to scoop. The longer it sits, the firmer it will be!
7. Scoop and Enjoy!
Once your ice cream is firm, it’s time to scoop! Serve in bowls or cones and enjoy your delicious homemade chocolate ice cream. Don’t forget to share (or not)! 😉
FAQ for Easy Homemade Chocolate Ice Cream
Can I Use Low-Fat Milk Instead of Whole Milk?
While you can use low-fat milk, it may result in a less creamy texture. For a rich ice cream, it’s best to stick with whole milk or even opt for a combination of whole milk and cream for added richness!
What If I Don’t Have an Ice Cream Maker?
No problem! You can still make this ice cream without an ice cream maker. Pour the chilled mixture into a shallow dish and freeze it. Stir every 30 minutes for the first 2-3 hours to break up ice crystals until it reaches a creamy consistency.
How Long Can I Store the Ice Cream?
You can store your homemade chocolate ice cream in an airtight container in the freezer for up to 2-3 weeks. Just let it sit at room temperature for a few minutes to soften before scooping if it becomes too hard.
Can I Add Mix-Ins to the Ice Cream?
Absolutely! Feel free to mix in chocolate chips, nuts, or swirls of fudge or caramel during the last few minutes of churning for extra flavor and texture. Just keep in mind that heavy mix-ins may require a longer freezing time!