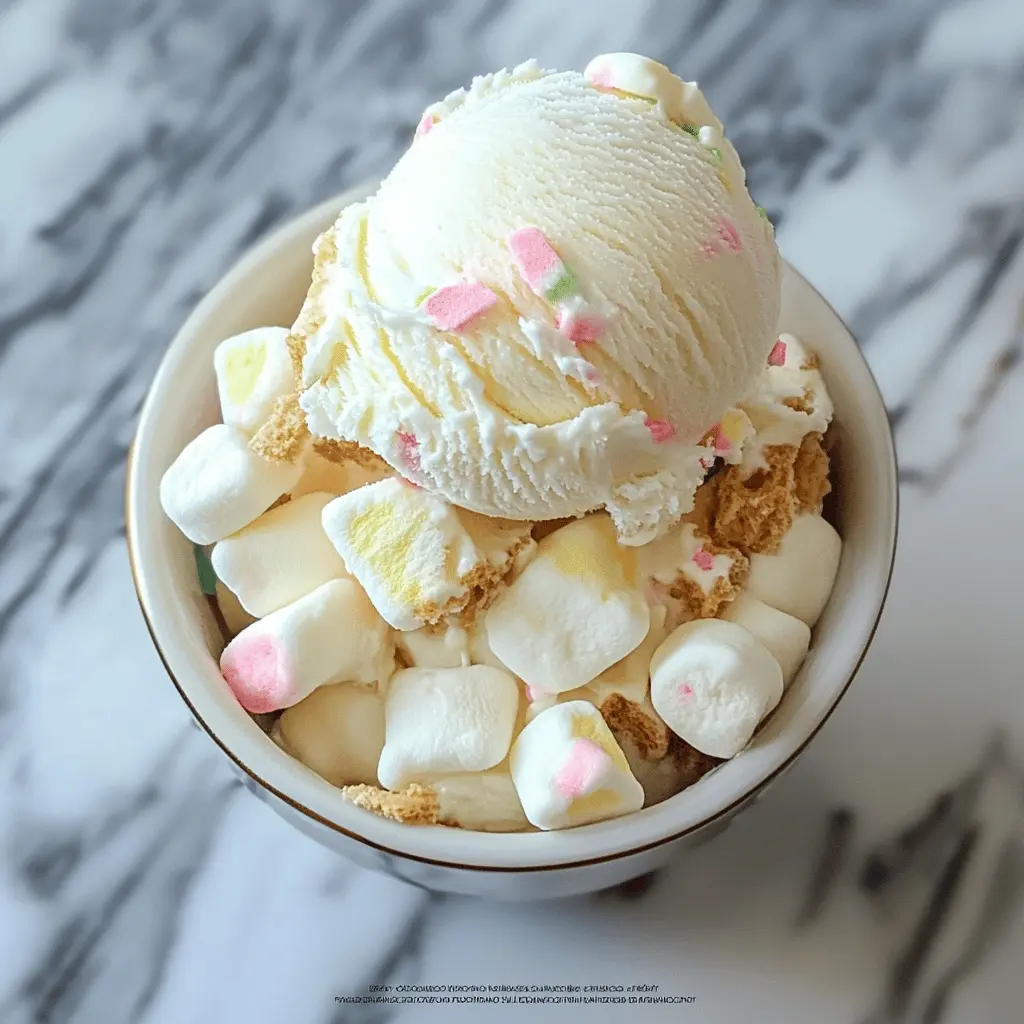
This Easy Homemade Marshmallow Ice Cream is super simple and oh-so-sweet! It combines creamy vanilla ice cream with fluffy marshmallow swirls that melt in your mouth.
Whenever I make this, I like to sneak a spoonful before it freezes. It’s a fun treat to enjoy on hot days or whenever you crave something special! You’ll love how easy it is to whip up!
Key Ingredients & Substitutions
Heavy Cream: This gives the ice cream its creamy texture. If you’re looking for a lighter option, you could substitute half of it with whole milk, but the texture might be less rich.
Whole Milk: Whole milk helps balance the creaminess. If you want a dairy-free version, try coconut milk or almond milk, but the flavor will change a bit.
Sugar: Regular granulated sugar works perfectly. For a healthier alternative, consider using honey or maple syrup, but you may need to adjust the sweetness to your taste.
Mini Marshmallows: These create that delightful gooey texture. You could substitute with large marshmallows, just chop them up into smaller pieces to blend better.
Vanilla Extract: This adds depth of flavor. Pure vanilla is best, but imitation vanilla is a budget-friendly option. You might also experiment with almond extract for a subtle twist.
How Do You Achieve Creamy Ice Cream Without an Ice Cream Maker?
If you don’t have an ice cream maker, don’t worry! You can still enjoy this recipe. After chilling the mixture, pour it into a shallow dish and freeze.
- Every 30 minutes, stir the mixture with a fork or whisk. This breaks up the ice crystals, making the ice cream creamier.
- Repeat until fully frozen, usually about 3-4 hours. This method takes a bit longer but yields great results!
Easy Homemade Toasted Marshmallow Ice Cream
Ingredients You’ll Need:
- 2 cups heavy cream
- 1 cup whole milk
- 3/4 cup granulated sugar
- 1 tablespoon pure vanilla extract
- 1 cup mini marshmallows (plus extra for toasting/garnish)
- Pinch of salt
How Much Time Will You Need?
This delicious ice cream recipe requires approximately 20 minutes of active prep time, plus at least 2 hours to chill the mixture and 4 hours to freeze once churned. You might want to plan for a full day of flavor development—so the ice cream can be ready for dessert tomorrow!
Step-by-Step Instructions:
1. Mix the Base:
In a medium saucepan, combine the heavy cream, whole milk, sugar, and a pinch of salt. Heat over medium heat while stirring occasionally. You want to warm it up just enough to dissolve the sugar completely—but don’t let it boil!
2. Add Vanilla:
Once the sugar is dissolved, take the saucepan off the heat and stir in the vanilla extract. This will create a wonderfully fragrant base for your ice cream.
3. Chill the Mixture:
Pour the mixture into a large bowl and allow it to cool to room temperature. After that, cover the bowl with plastic wrap and pop it into the fridge for at least 2 hours (or even better—let it chill overnight).
4. Churn the Ice Cream:
When you’re ready to make your ice cream, pour the chilled mixture into your ice cream maker. Churn according to the manufacturer’s instructions until it’s thick and has a soft-serve consistency.
5. Toast the Marshmallows:
While your ice cream is churning, grab a dry skillet and set it over medium heat. Toss in the mini marshmallows and toast them, turning frequently, until they are golden brown and gooey. Keep a close eye on them so they don’t burn!
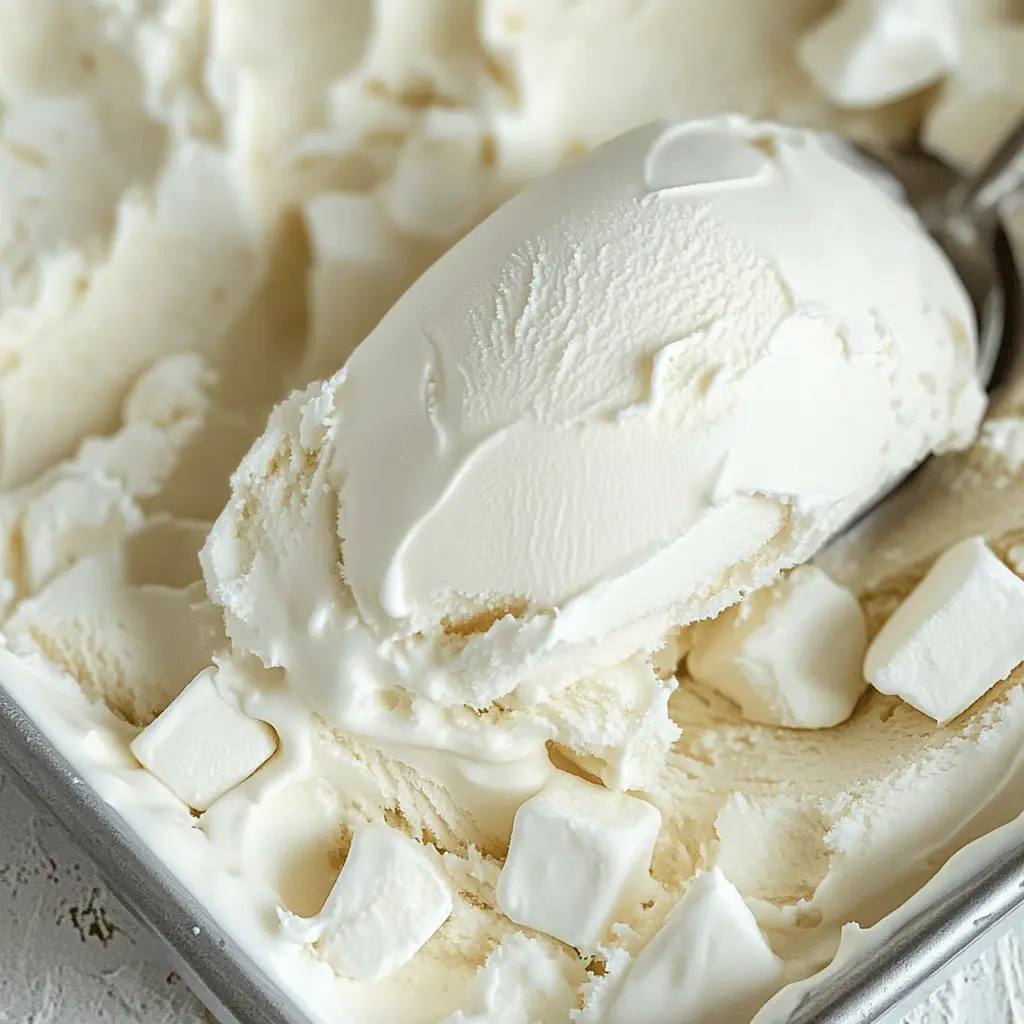
6. Combine Marshmallows with Ice Cream:
Once your ice cream has reached a soft-serve texture, gently fold in the toasted marshmallows. This adds delightful chunks of sweetness throughout your creamy mix.
7. Freeze to Firm Up:
Transfer the ice cream to an airtight container and place it in the freezer. Let it freeze for at least 4 hours, or until it’s firm enough to scoop.
8. Serve and Enjoy:
Once your ice cream is frozen solid, scoop it into waffle cones or bowls. For an extra treat, top with additional toasted marshmallows! Enjoy every creamy bite of your homemade toasted marshmallow ice cream!
This recipe is a delightful treat that brings together the flavors of summer campfire marshmallows and creamy ice cream! Enjoy!
FAQ for Easy Homemade Toasted Marshmallow Ice Cream
Can I Use Different Types of Milk?
Yes, you can use different types of milk! For a creamier texture, stick to whole milk, but you can substitute with 2% milk or even almond milk for a dairy-free version. Keep in mind that the flavor and texture might vary slightly.
How Long Can I Store Homemade Ice Cream?
Your homemade toasted marshmallow ice cream can be stored in an airtight container in the freezer for up to 2-3 weeks. Just allow it to soften at room temperature for a few minutes before scooping for best results!
Can I Skip Toasting the Marshmallows?
While toasting the marshmallows enhances their flavor with a lovely caramelized taste, you can omit this step if you’re short on time. Just fold in the mini marshmallows into the churned ice cream for a sweeter, squeakier texture!
What If I Don’t Have an Ice Cream Maker?
No worries! You can make this ice cream without an ice cream maker. After chilling the mixture, pour it into a shallow dish and freeze it. Stir it every 30 minutes for about 3-4 hours to create a creamy texture.