Peanut butter cookies are a classic treat that bring together a rich, nutty flavor with a soft, chewy texture. The combination of creamy peanut butter, a hint of sweetness, and just the right amount of salt makes each bite totally satisfying. These cookies have that perfect crumbly outside with a tender middle that just melts in your mouth.
I love making peanut butter cookies because they’re so simple and quick, yet everyone always asks for seconds. One little tip I like to use is to gently press the tops with a fork to create that classic crisscross pattern—it’s such a fun and easy way to make them look extra special. Plus, the smell of peanut butter baking fills the whole kitchen with the coziest vibes.
Whenever I bake a batch, I like to share them with friends and family because they’re such a familiar, comforting flavor that people of all ages enjoy. These cookies are perfect with a cold glass of milk or a warm cup of tea, making them a great snack any time of day. If you’re looking for a simple, tasty cookie recipe that’s always a hit, peanut butter cookies are a great choice!
Key Ingredients & Substitutions
Peanut Butter: Creamy peanut butter works best for a smooth texture, but chunky adds a nice crunch if you like bits of nuts in your cookies. If you’re allergic or want a twist, try sunflower seed butter or almond butter as swaps.
Sugar: Granulated sugar gives these cookies their classic sweetness and slight crunch. You can swap half for brown sugar if you prefer a touch of molasses flavor and a chewier texture.
Baking Soda: This helps the cookies spread a little and keeps them soft inside. Make sure it’s fresh for the best rise and texture.
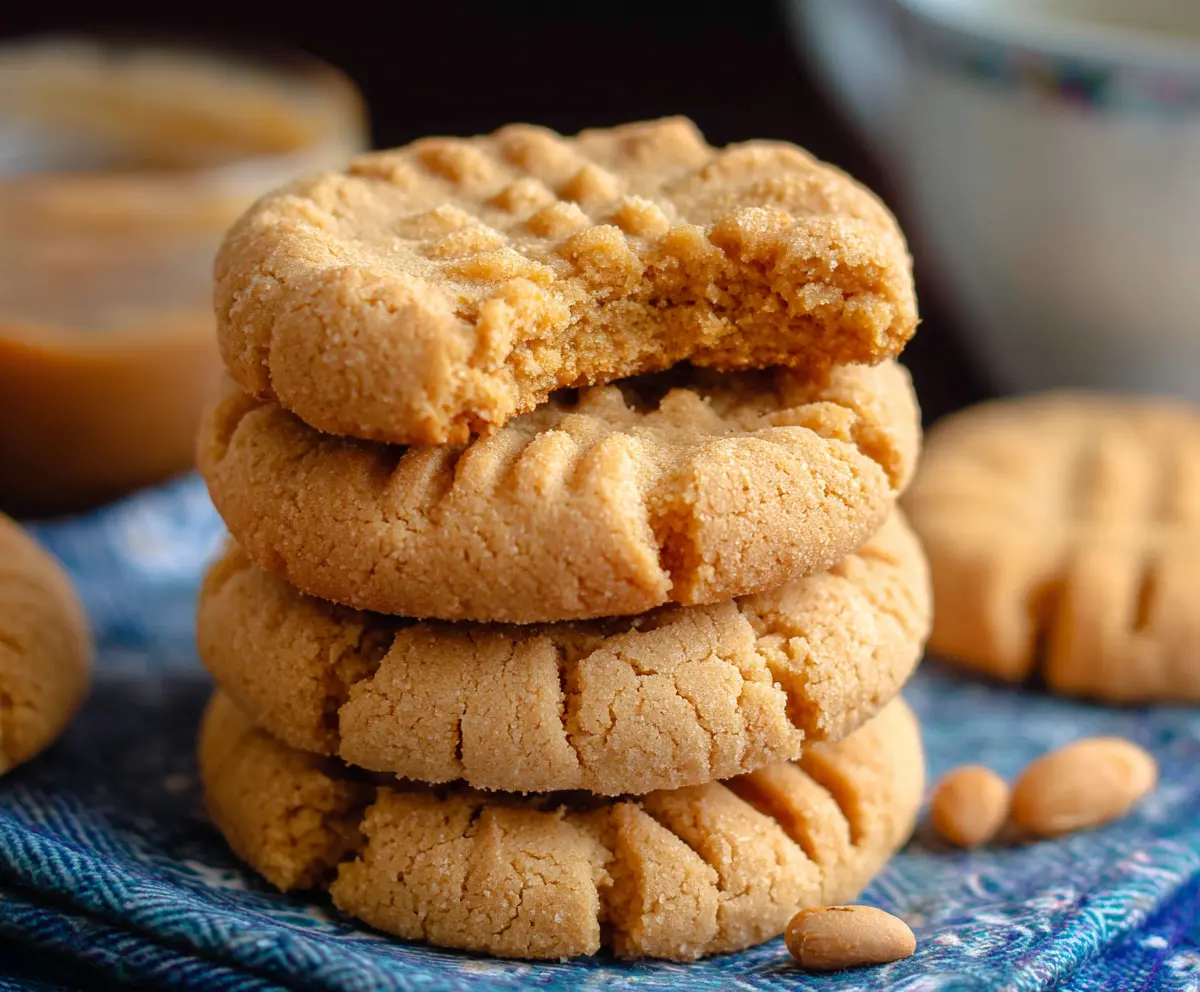
How Do You Get That Classic Crisscross Pattern Just Right?
That crisscross fork pattern is the iconic look of peanut butter cookies and helps them bake evenly too. Here’s how I do it:
- After scooping and rolling your dough balls, place them on the baking sheet spaced apart.
- Press down gently with the back of a fork to flatten the ball. Don’t press too hard or the cookie will be too thin.
- Turn the fork and press at a right angle to create the crisscross pattern.
- This also flattens the cookie evenly so it bakes with a tender center and crisp edges.
A quick tip: dip your fork in sugar or wet it slightly to prevent sticking when pressing the dough.

Equipment You’ll Need
- Mixing bowl – handy for combining all your ingredients quickly in one place.
- Measuring cups and spoons – make sure your ingredients are accurate for perfect cookies every time.
- Baking sheet – a flat, rimmed tray works great to keep cookies from sliding around.
- Parchment paper or silicone baking mat – stops the cookies from sticking and makes cleanup easy.
- Fork – essential for making that classic crisscross pattern on your cookies’ tops.
- Spoon or cookie scoop – helps portion out even-sized cookie dough balls.
Flavor Variations & Add-Ins
- Mix in chocolate chips or chunks for a sweet, melty contrast to the peanut butter.
- Add a pinch of cinnamon or nutmeg to bring warm spice notes perfect for fall baking.
- Stir in chopped peanuts for extra crunch and a more intense peanut flavor.
- Try replacing half the peanut butter with almond or cashew butter for a milder nut taste.
How to Make Peanut Butter Cookies
Ingredients You’ll Need:
- 1 cup peanut butter (creamy or chunky)
- 1 cup granulated sugar
- 1 large egg
- 1 teaspoon baking soda
- ½ teaspoon vanilla extract (optional)
- A pinch of salt (if using unsalted peanut butter)
How Much Time Will You Need?
This recipe takes about 10 minutes to prepare and 10-12 minutes to bake. Plus, give about 5 minutes to cool before enjoying – so roughly 25-30 minutes total from start to finish.
Step-by-Step Instructions:
1. Get Ready to Bake:
First, preheat your oven to 350°F (175°C). Line a baking sheet with parchment paper or use a silicone baking mat to keep your cookies from sticking.
2. Mix Your Ingredients:
In a large bowl, add peanut butter, sugar, egg, baking soda, vanilla extract (if using), and salt. Stir everything together until the dough looks smooth and well combined.
3. Shape the Cookies:
Scoop the dough into tablespoon-sized balls. Space them about 2 inches apart on your prepared baking sheet so they have room to spread.
4. Make the Crisscross Pattern:
Use a fork to gently press down each dough ball, making a crisscross pattern by pressing in one direction and then the other. This gives your cookies their classic look and helps them bake evenly.
5. Bake and Cool:
Bake the cookies for 10 to 12 minutes, until the edges turn a light golden color. Don’t overbake to keep them soft and chewy. When done, let them cool on the baking sheet for 5 minutes before moving them to a wire rack to finish cooling.
Enjoy your delicious peanut butter cookies with their perfect soft texture and classic fork design!
Can I Use Natural or Unsweetened Peanut Butter?
Yes, you can! Just be aware that natural peanut butter usually has more oil and less sugar, which can affect the texture and sweetness. You might need to chill the dough before baking to help it hold together better.
How Should I Store Peanut Butter Cookies?
Store them in an airtight container at room temperature for up to 5 days. For longer storage, freeze the cookies in a sealed bag or container for up to 3 months—just thaw at room temperature before enjoying.
Can I Make These Cookies Gluten-Free?
Definitely! Since this recipe is naturally flourless, it’s already gluten-free as long as your peanut butter and other ingredients don’t contain any gluten additives. Always double-check the labels just in case.
Can I Add Chocolate Chips or Other Mix-ins?
Absolutely! Stir in chocolate chips, chopped peanuts, or even a sprinkle of sea salt on top before baking for extra flavor and texture variations.