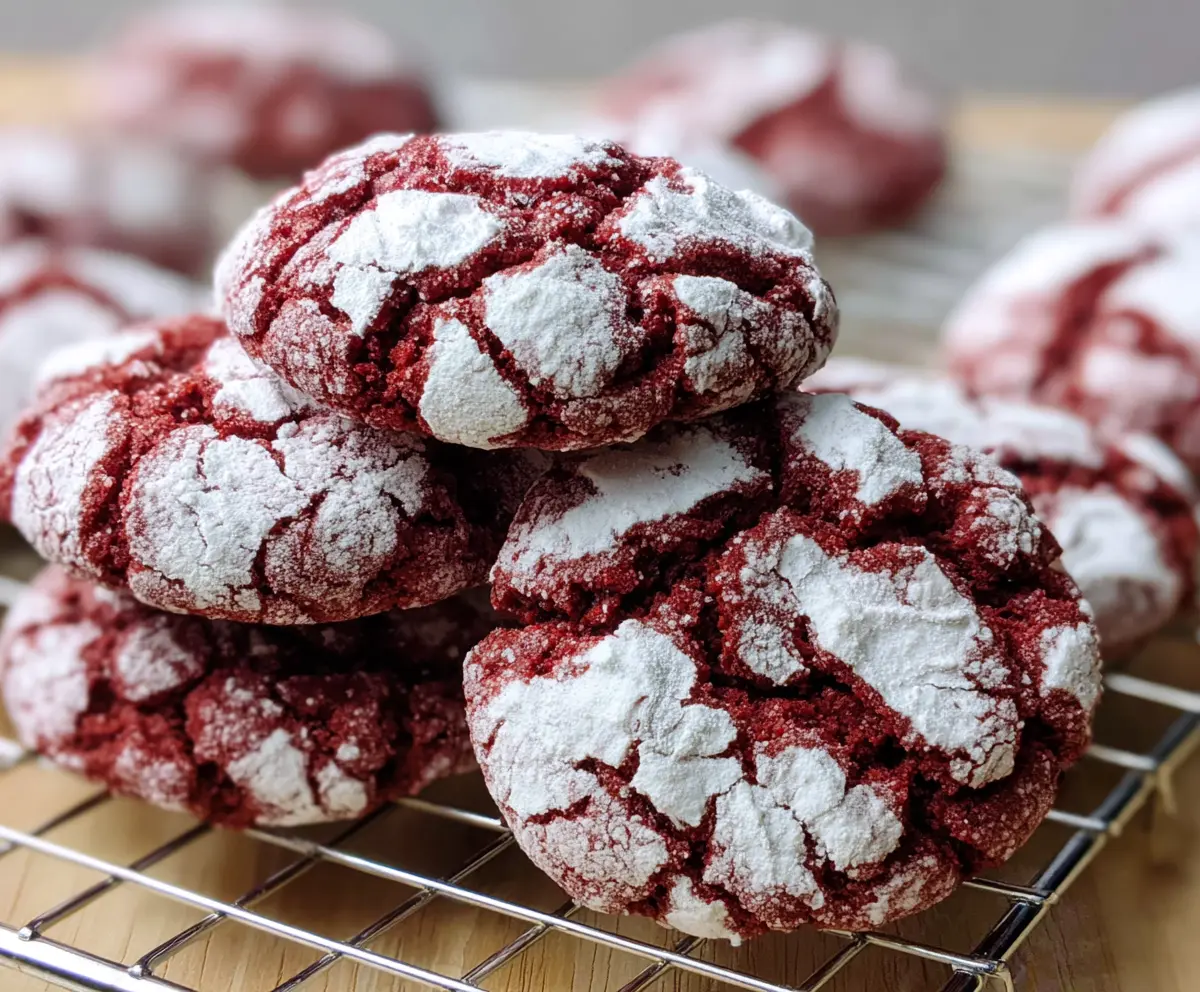
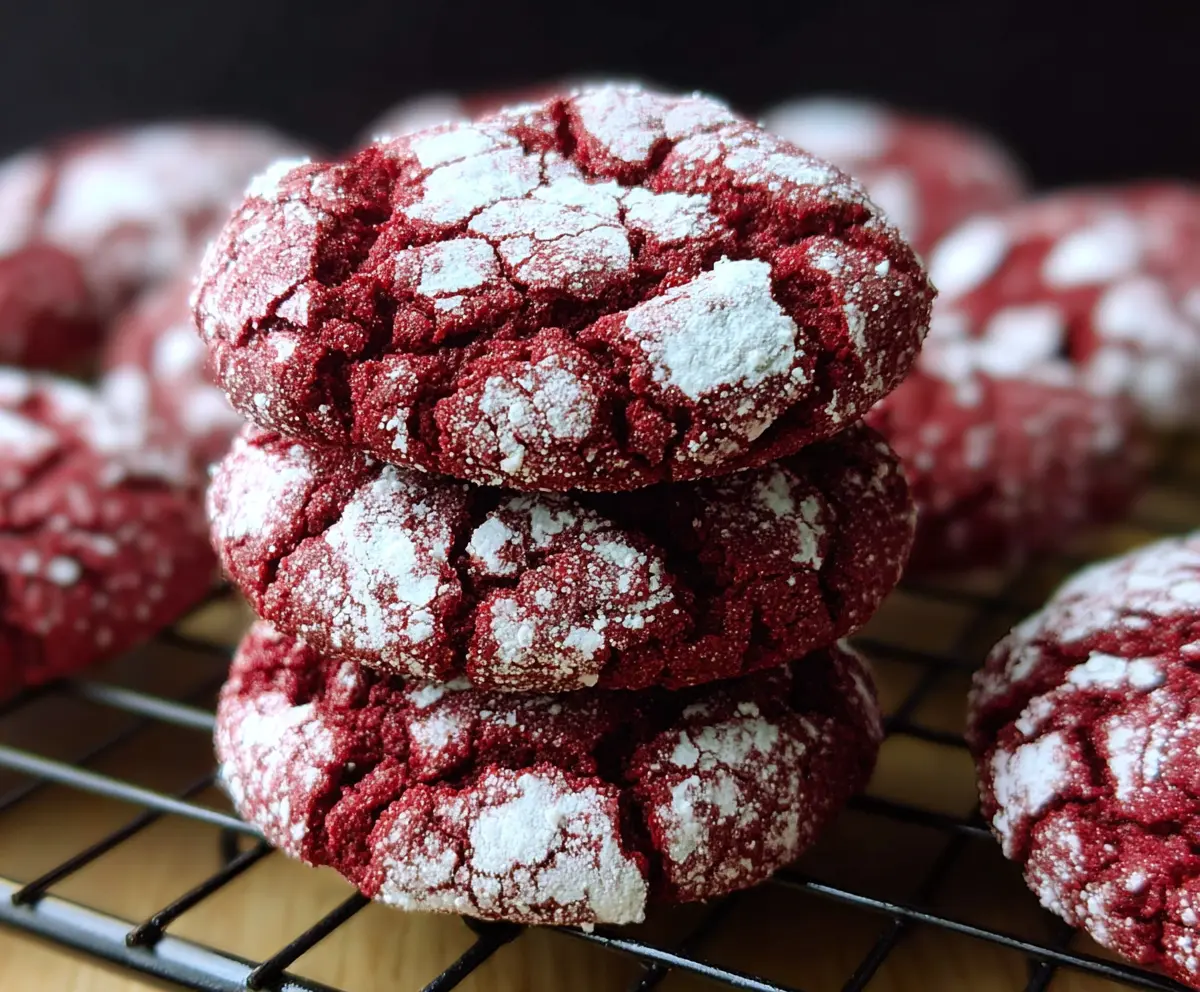
Red Velvet Crinkle Cookies are soft, chewy treats that catch your eye with their deep red color and lovely powdered sugar cracks on top. They have a subtle cocoa flavor with just the right amount of sweetness, and the crinkle effect makes them look as good as they taste.
I love making these cookies, especially around holidays or for special occasions. The bright red color always brings a bit of fun to the kitchen, and I find that rolling them in powdered sugar before baking is the secret to getting that perfect crackled finish. It’s a simple touch that makes all the difference!
These cookies are great on their own with a glass of milk, but I especially like serving them with a cup of coffee or hot cocoa. They’re soft enough to enjoy right away yet sturdy enough to pack in a lunchbox or bring along to a get-together. Whenever I make these, friends ask for the recipe—and I’m happy to share!
Key Ingredients & Substitutions
Flour: All-purpose flour gives these cookies their perfect chewy texture. You can substitute with gluten-free flour blends if needed; just check that they include xanthan gum for structure.
Cocoa Powder: Unsweetened cocoa adds a mild chocolate flavor and deepens the red color. Dutch-process cocoa is a good alternative if you want a smoother taste.
Butter: Using softened unsalted butter makes the dough creamy and rich. You can try margarine in a pinch, but butter offers the best flavor and texture.
Red Food Coloring: This ingredient gives the signature red velvet look. Gel food coloring works well to avoid thinning the dough. For a natural option, beet juice or powder can add color but may change the taste slightly.
Buttermilk & Vinegar: Both help create tenderness and react with baking powder for rise. If you don’t have buttermilk, mix regular milk with a teaspoon of vinegar and let it sit for 5 minutes before using.
Powdered Sugar: Rolling the dough balls in powdered sugar is essential to get that beautiful crinkle effect and mild sweetness on the outside.
How Do I Get Those Perfect Crinkles on Top?
The crinkle effect comes from a few key steps:
- Chill the dough well to keep it firm. This slows spreading in the oven so the powdered sugar cracks instead of melting away.
- Roll the dough balls in a thick, even layer of powdered sugar. Don’t be shy here — more sugar means better cracks.
- Bake at 350°F (175°C) for 10-12 minutes. The heat causes the cookie to spread and crack, revealing the red beneath the sugar.
- Cool the cookies on the baking sheet briefly to let them set without breaking apart.
My tip: Use a small scoop for even-sized balls, and handle the dough gently when rolling so the sugar layer stays intact. Watching the cookies bake and crack is always so satisfying!
Equipment You’ll Need
- Mixing bowls – a large one for the dough and a smaller one for dry ingredients make mixing easy and organized.
- Electric mixer or hand whisk – helps cream butter and sugar smoothly for the best cookie texture.
- Measuring cups and spoons – precise measurements keep your cookies balanced and delicious.
- Baking sheets – flat and sturdy for even baking; line with parchment paper to prevent sticking and clean up faster.
- Wire cooling rack – cool your cookies evenly so they don’t get soggy underneath.
- Spoon or cookie scoop – forms consistent cookie sizes so all bake evenly.
Flavor Variations & Add-Ins
- Chocolate chips – stir in mini or regular-size chips for extra bursts of chocolate in each bite.
- White chocolate chunks – add sweetness and a nice contrast to the cocoa flavor.
- Chopped nuts (like pecans or walnuts) – for crunch and a nutty flavor that pairs well with red velvet.
- Orange zest – a little zest adds freshness and brightens the cocoa and chocolate notes.
How to Make Red Velvet Crinkle Cookies?
Ingredients You’ll Need:
- 2 1/4 cups (280g) all-purpose flour
- 1 tablespoon unsweetened cocoa powder
- 1 teaspoon baking powder
- 1/2 teaspoon salt
- 1/2 cup (1 stick, 115g) unsalted butter, softened
- 1 cup (200g) granulated sugar
- 1 large egg
- 1 teaspoon vanilla extract
- 1 tablespoon red food coloring (liquid or gel)
- 1/2 teaspoon white vinegar
- 1/3 cup (80ml) buttermilk
- 1 cup (120g) powdered sugar (for rolling)
Time Needed:
This recipe takes about 15 minutes to prepare, plus at least 2 hours for chilling the dough. Baking only takes around 10 to 12 minutes per batch. Plan for some extra cooling time to let the cookies set and develop their soft, chewy texture.
Step-by-Step Instructions:
1. Mix Dry Ingredients
In a medium bowl, whisk together the flour, cocoa powder, baking powder, and salt until everything is combined well. Set this aside for now.
2. Cream Butter and Sugar
In a large bowl, beat the softened butter and granulated sugar with an electric mixer on medium-high speed. Keep beating for about 3 minutes until the mixture looks light and fluffy.
3. Add Wet Ingredients
Add the egg, vanilla extract, and red food coloring to the butter mixture. Beat until everything is well mixed. Then stir in the white vinegar and buttermilk until combined.
4. Combine Wet and Dry Mixtures
Gradually add the dry ingredients into the wet ingredients while mixing on low speed. Mix just until everything comes together into a thick dough.
5. Chill the Dough
Cover the bowl with plastic wrap and chill the dough in the fridge for at least 2 hours. This step makes the dough easier to handle and helps create those beautiful crinkles when baked.
6. Prepare to Bake
Preheat your oven to 350°F (175°C). Line one or two baking sheets with parchment paper or silicone mats to prevent sticking.
7. Shape and Sugar the Cookies
Scoop out tablespoon-sized portions of dough and roll each into a ball. Then, roll each ball in the powdered sugar, making sure to coat it thickly and evenly.
8. Bake
Place the sugar-coated dough balls about 2 inches apart on the prepared baking sheets. Bake for 10–12 minutes or until the cookies have spread and the tops have cracked nicely.
9. Cool and Serve
Let the cookies cool on the baking sheet for about 5 minutes. Then transfer to a wire rack to cool completely. Enjoy your cookies soft, chewy, and full of red velvet flavor!
Can I Use Gel Food Coloring Instead of Liquid?
Yes! Gel food coloring works great because it won’t thin out the dough. Just use the same amount or a little less since gel tends to be more concentrated.
How Should I Store These Cookies?
Store cookies in an airtight container at room temperature for up to 3-4 days. For longer storage, freeze them in a sealed bag for up to 3 months and thaw at room temperature before serving.
Can I Skip Chilling the Dough?
Chilling is highly recommended to get those perfect crinkles and prevent spreading. If you’re short on time, chill the dough for at least 30 minutes, but longer is better.
Can I Substitute Buttermilk?
Absolutely! If you don’t have buttermilk, mix 1/3 cup milk with a teaspoon of white vinegar or lemon juice, let it sit 5 minutes, then use as directed in the recipe.