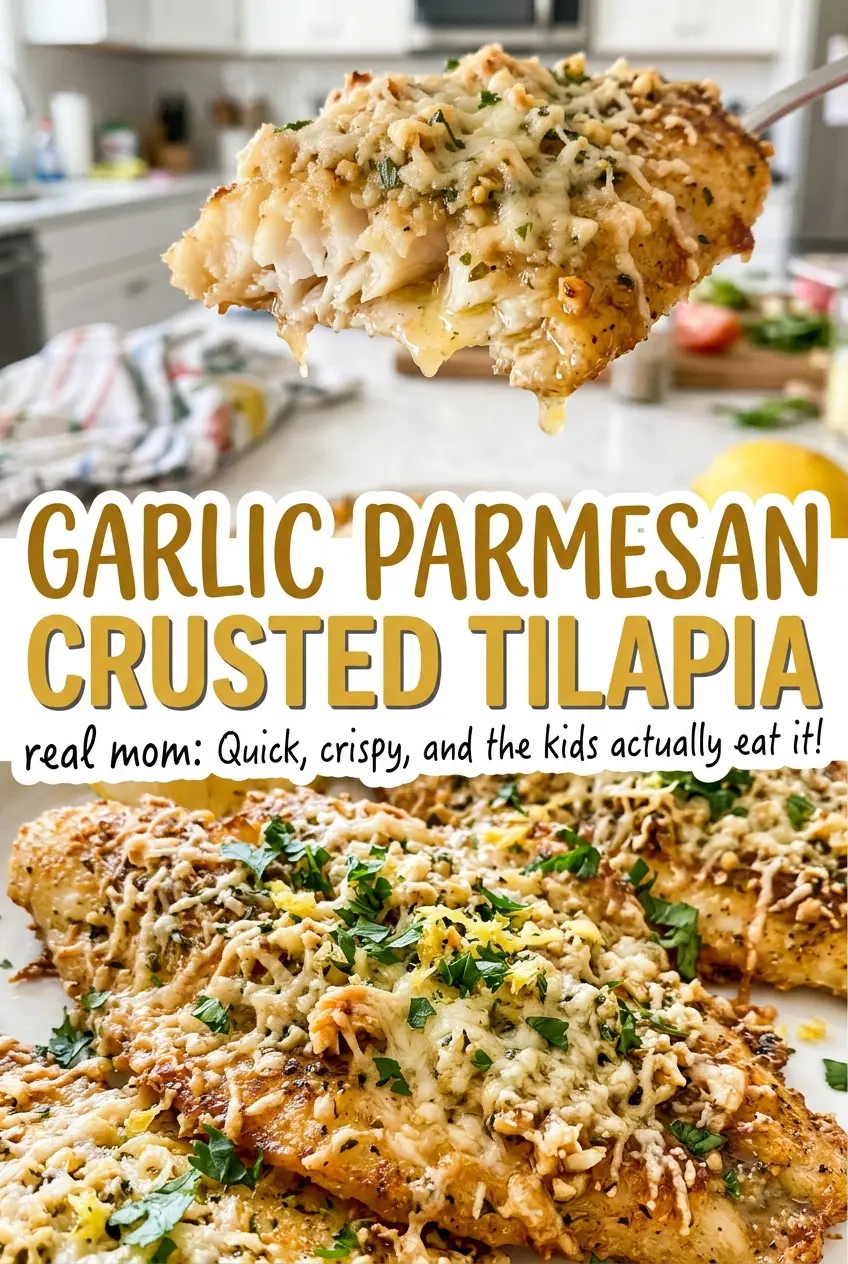
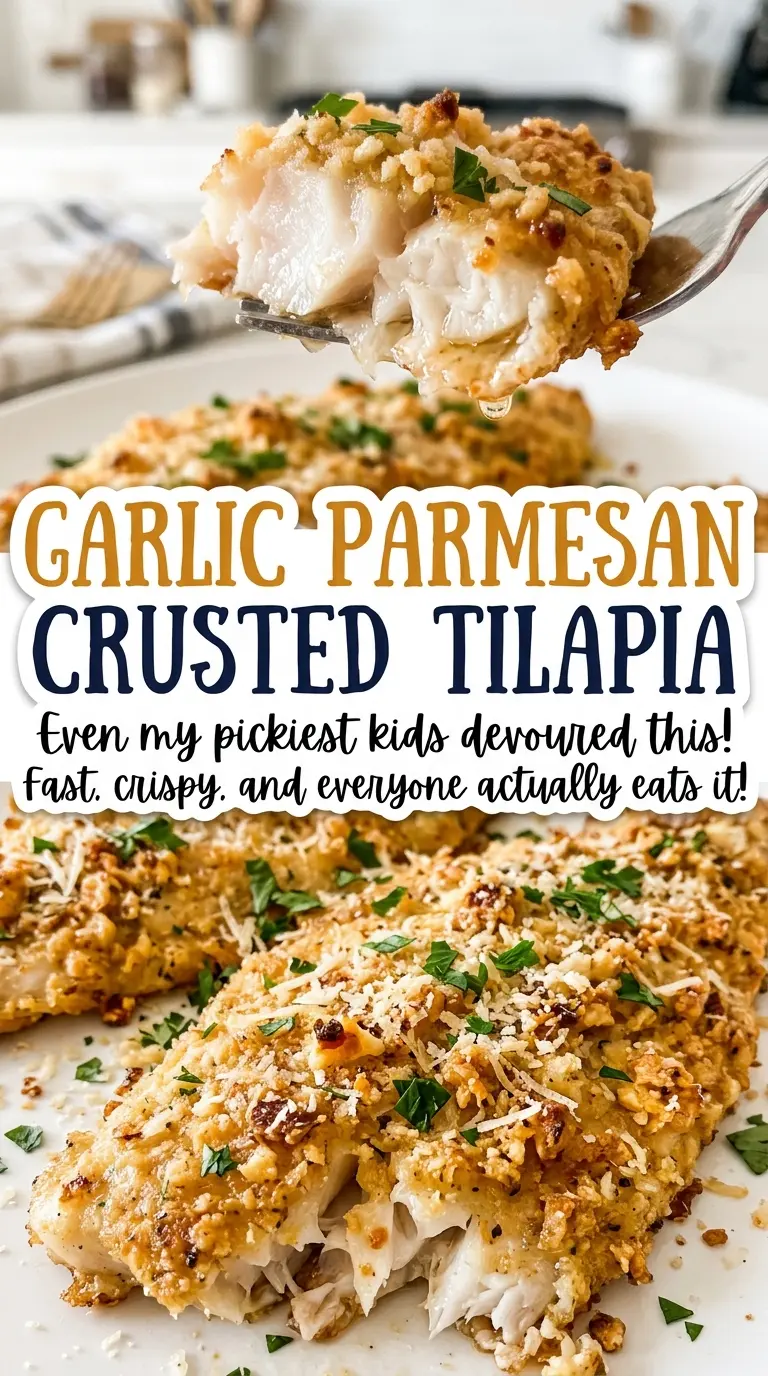
Once melted butter coats the panko, the crumbs turn a shade darker and start to clump together. That’s the moment this Garlic Parmesan Crusted Tilapia comes together: no egg wash or separate breading station, just a buttery crumb topping pressed onto the fish and baked in one dish.
I like how the Parmesan browns around the edges while the tilapia stays mild and tender underneath. Garlic gives the crust a savory bite, and a little parsley and paprika round it out without covering up the fish. Keep the fillets in a single layer, and each serving comes out with its own golden top and flakes you can lift straight from the baking dish.
Kitchen Note
Pat the thawed tilapia dry before it goes into the dish. Any water left on the surface can collect beneath the fillets, and a dry top gives the buttery crumbs a better chance to stay where you press them.
Save this Garlic Parmesan Crusted Tilapia for a quick fish dinner with buttery, golden crumbs and tender flakes.
Why the 5-to-6-Ounce Fillets Matter More Than the Clock
Tilapia is a lean, fairly delicate fish, so this topping isn’t meant to bake for a long stretch while you wait for a thick piece of fish to catch up. Fillets in the 5-to-6-ounce range give the crust time to brown as the fish cooks through. If you use noticeably different sizes in the same dish, the smaller pieces may finish before the thicker ones.
Keeping the fillets similar in size also makes serving easier: you’re not choosing between a dry thin piece and an underdone thick one. The topping adds richness and crunch, but it can’t make unevenly sized portions cook at the same pace. When you shop, look for four fillets that are close in thickness as well as weight. That small bit of consistency helps the fish and the Parmesan crumbs reach the finish together.
What Panko, Parmesan, and Butter Each Bring to the Crust
- Panko breadcrumbs — Their larger, airy flakes give the topping a lighter crunch than fine breadcrumbs. If you use regular fine breadcrumbs instead, expect a closer, denser layer rather than the same craggy texture.
- Finely grated Parmesan — Fine shreds distribute through the panko and brown into the crust instead of sitting in large, chewy patches. A block grated at home gives a delicate texture; finely grated packaged Parmesan is convenient, though it may bake up a little drier. Finely grated Pecorino Romano can replace it for a sharper, saltier crust.
- Unsalted butter — Butter coats the crumbs and helps them brown, while unsalted butter leaves the seasoning under your control. Salted butter can work, but leave out the added kosher salt in the crust so the finished topping doesn’t turn too salty.
- Tilapia — Its mild flavor lets the garlic and Parmesan lead without competing with the topping. Choose thawed fillets of similar thickness; a much thicker cut of another fish won’t necessarily finish in the same window.
- Garlic, parsley, and paprika — Fresh minced garlic brings a more direct savory note than dried garlic, while fresh parsley keeps the crust tasting bright. The paprika adds gentle warmth and color; it isn’t there to make the fish hot.
From Buttery Crumbs to a Golden, Flaky Fillet
Mix the Garlic Parmesan Crumbs
Heat the oven to 400°F. Melt the butter in a medium microwave-safe bowl for about 20 to 30 seconds, just until liquid. Stir in the panko, Parmesan, minced garlic, parsley, paprika, salt, and black pepper. Work the mixture around the bowl until the crumbs are evenly moistened rather than leaving dry pockets or a puddle of butter.
Arrange the Tilapia and Add the Topping
Coat a 9×13-inch baking dish with nonstick cooking spray and arrange the prepared fillets in one layer. Divide the crumb mixture among them so each piece gets an even share. Press it gently into place; you want the topping to cling, not become a hard, compressed blanket. Leave the sides of the fish uncovered where the crumbs naturally fall away.
Bake Until the Crust Is Golden
Bake for 12 to 15 minutes. Look for a golden topping and flesh that separates into moist flakes when gently tested. Check the thickest part of a fillet with an instant-read thermometer; it should reach 145°F. If one fillet is thicker than the others, check that piece rather than assuming every portion is ready at the same moment.
Two Small Changes That Shift the Crust
Make the Crust Gluten-Free
Replace the panko with gluten-free panko in the same amount. It keeps the loose, crunchy texture closer to the original than fine gluten-free breadcrumbs, which make a more compact topping.
Give It a Smokier Edge
Use smoked paprika in place of the regular paprika. The crust takes on a deeper, woodsy note while the garlic and Parmesan still come through; keep the swap measure-for-measure.
Storage and Reheating
- Refrigerator: Refrigerate leftovers within two hours and keep them in a covered container for up to 3 days. The fish stays tender, but the crumb topping softens.
- Freezer: Freeze cooked portions in an airtight container for up to 2 months. Thaw them in the refrigerator; the topping will be softer after freezing.
- Reheating: Warm portions uncovered in a 325°F oven until the center reaches 165°F. The oven helps dry the topping back out; microwaving tends to leave it soft.
Questions That Come Up While the Fish Bakes
Garlic Parmesan Crusted Tilapia
Ingredients
Equipment
Method
- Heat the oven to 400°F.
- Melt the butter in a medium microwave-safe bowl, about 20 to 30 seconds.
- Stir in the panko, Parmesan, garlic, parsley, paprika, salt, and black pepper until evenly moistened.
- Coat a 9x13-inch baking dish with cooking spray.
- Arrange the tilapia fillets in a single layer.
- Divide the crust mixture among the fillets and press it gently into place.
- Bake for 12 to 15 minutes, until the topping is golden, the fish flakes easily, and the thickest part reaches 145°F.