When the roasting pan is still warm, the drippings look like one glossy puddle—but they aren’t all doing the same job. The fat builds the roux, while the defatted juices bring the roasted turkey flavor to the gravy. Separating them first is what lets Turkey Gravy from Drippings turn out rich without leaving a slick of fat on top.
I like this method because it gives the gravy a dependable base even when the pan doesn’t hold quite enough juice. A little low-sodium turkey broth fills the gap, and unsalted butter can make up any shortage of fat. You still get the flavor of the drippings, with room to adjust the seasoning at the end.
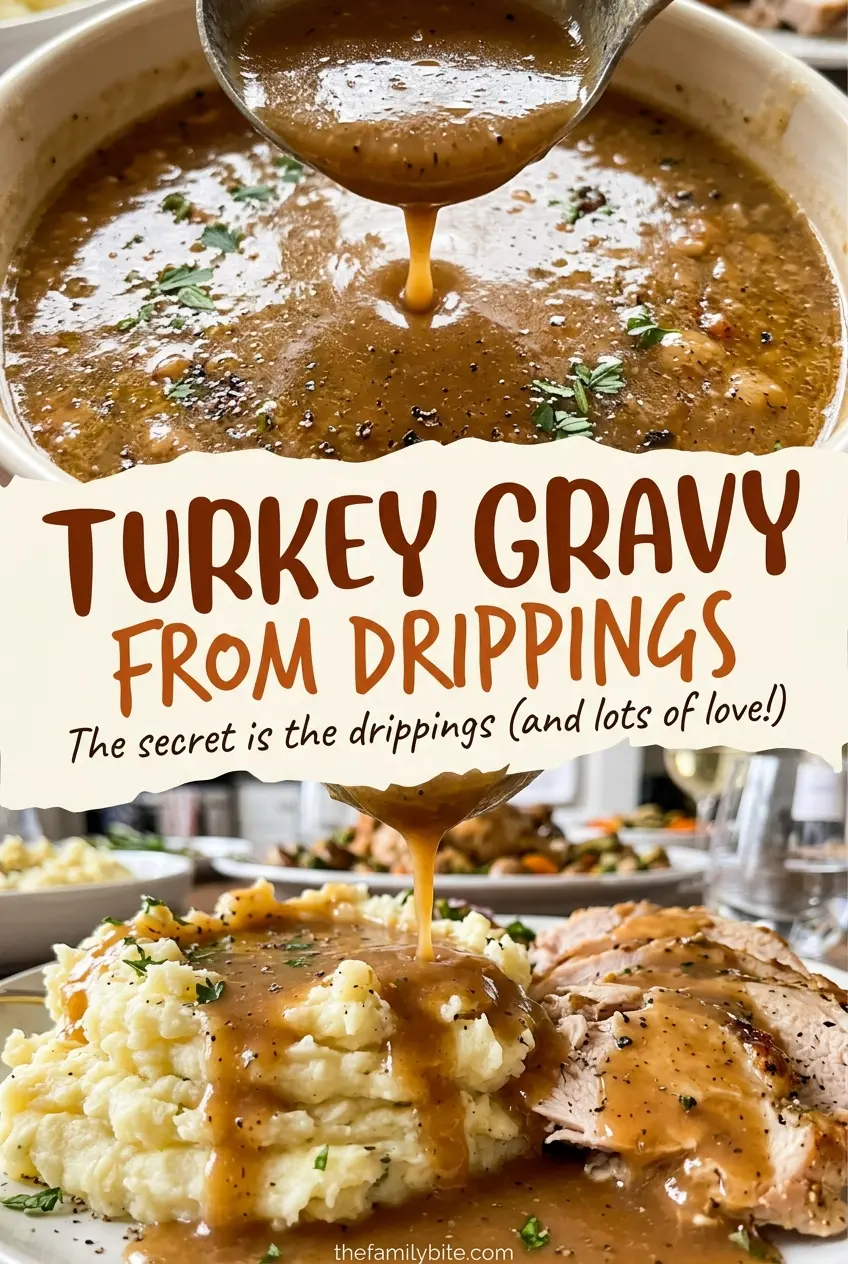
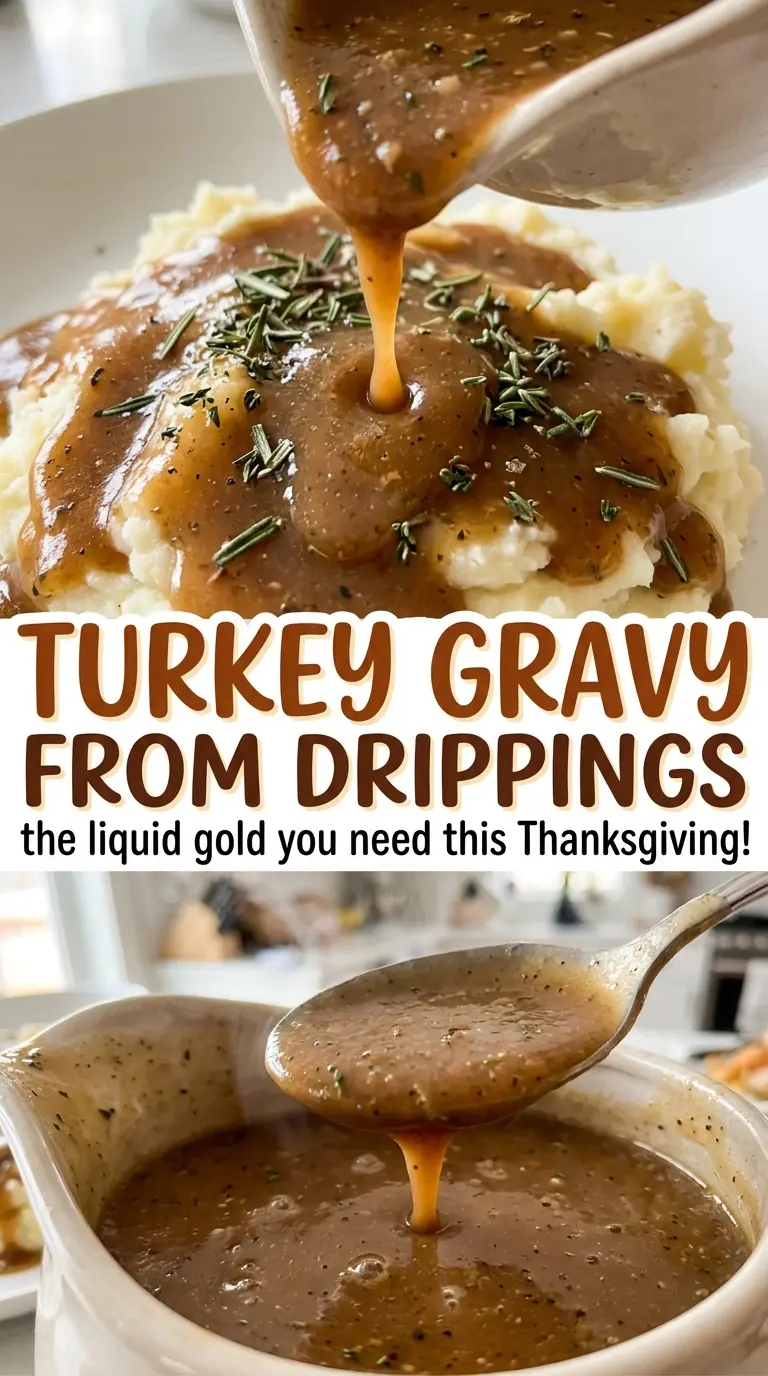
Once the liquid goes in gradually, the roux turns into a smooth gravy that thickens as it simmers. Watch for it to coat the back of a spoon, then taste before adding more salt. It should be savory and silky, ready to pour while it’s hot.
Kitchen Note
Let the drippings stand in the fat separator for the full five minutes before measuring. That pause gives the layers time to settle, so you can portion the fat and the juices separately instead of carrying excess fat into the liquid.
Save this turkey gravy from drippings for a smooth, savory finish that makes the most of your pan juices.
Why the Fat and the Pan Juices Need Separate Jobs
Turkey drippings contain both rendered fat and flavorful liquid. Those components work best in different parts of the gravy: the fat combines with flour to make the roux, and the defatted juices join the broth as the liquid. Pouring everything together without separating it can leave the gravy oily, and it makes the amount of fat in the roux harder to control.
The balance matters because this gravy starts with a measured amount of fat and flour, then uses a measured amount of liquid. If the pan gave you less fat than you need, unsalted butter fills only that shortfall. If there aren’t enough defatted juices to make the full liquid amount, low-sodium turkey broth brings it up. Those small adjustments keep the gravy’s texture consistent without asking you to guess at the proportions.
Pan juices can also vary in saltiness depending on how the turkey was seasoned. Low-sodium broth gives you a quieter, more predictable base when you need to top up, and salting after the gravy simmers leaves you in control. Taste before adding more; the drippings have already brought their own seasoning.
What the Turkey Fat, Flour, and Pan Juices Each Bring
- Turkey fat and unsalted butter — Rendered turkey fat carries the roast’s savory character into the roux. Use unsalted butter only to bring the measured fat up to the amount needed; it fills the gap without adding more salt. Fresh drippings matter most here, but there’s no need to seek out a special butter.
- All-purpose flour — This is the thickener, and it also gives the roux structure so the gravy coats a spoon instead of staying thin. Keep the flour plain and measure it carefully; changing to a different thickener would require a different method and ratio.
- Defatted turkey pan juices — These are the most direct source of roasted turkey flavor. Strain them so browned bits or other solids don’t interfere with a smooth gravy, then use the defatted portion as part of the liquid.
- Low-sodium turkey broth — Broth is useful for topping up the pan juices without pushing the salt too far before you taste. A basic low-sodium option works well; the drippings supply the roast flavor.
- Kosher salt and black pepper — Salt is adjusted to taste after the gravy thickens, since the pan juices may already be seasoned. Black pepper adds a gentle savory bite without covering up the turkey.
Building a Smooth Gravy From the Roux Up
Separate and Measure the Drippings
Strain the turkey drippings into a fat separator, then measure the separated fat. Use unsalted butter to make up any difference if you come up short. Measure the defatted pan juices separately and add low-sodium turkey broth to bring the combined liquid to the required amount. Keeping the fat and liquid distinct at this stage makes the next steps easier to control.
Cook the Pale-Golden Roux
Heat the measured fat in a medium saucepan over medium heat, then whisk in the flour. Keep the whisk moving as the mixture cooks for 2 to 3 minutes; the roux should turn pale golden and smell nutty. If it stays chalky-looking or smells strongly of raw flour, keep whisking through the cooking time. Don’t let it darken past pale golden, since a darker roux changes the flavor and thickening power.
Whisk in the Liquid Gradually
Pour the measured pan-juice-and-broth mixture into the roux a little at a time, whisking as you go. The mixture may look thick at first, but each addition loosens it into a smoother gravy. Whisk until the liquid is incorporated before adding more, and don’t dump it all in at once. A steady addition gives you a smooth base rather than lumps of flour paste.
Simmer Until It Coats a Spoon
Bring the gravy to a gentle simmer and cook for 5 to 8 minutes, whisking often. Look for a thicker, glossy texture that clings to the back of a spoon rather than running off like broth. Stir in the salt and pepper, taste, and add more salt only if it needs it. Keep the simmer gentle; a hard boil isn’t needed to thicken this gravy.
Ways to Adjust the Gravy Without Losing Its Turkey Character
Keep It Dairy-Free With Turkey Fat
If you have enough separated turkey fat, use it for the full measured amount and skip the butter. The gravy stays focused on the roasted turkey flavor, and you avoid adding dairy. If the fat falls short, this particular adaptation won’t work without a non-dairy replacement that isn’t part of this ingredient list.
Use a Pan-Juice-Forward Liquid
When you have plenty of defatted pan juices, use them for the liquid rather than topping them up with broth. The finished gravy will taste more directly of the roast. Keep the total liquid measure the same so the roux thickens as expected.
Make the Flavor Milder With Broth
If your pan juices taste especially concentrated, use low-sodium turkey broth for more of the measured liquid and less of the juices. The gravy will have a gentler roasted flavor, while keeping the same smooth texture. Taste before adding the final salt because the reduced amount of pan juice may change how much seasoning it needs.
Storage and Reheating
- Refrigerator: Refrigerate in a covered container within 2 hours and use within 3 to 4 days. The gravy will thicken as it chills.
- Freezer: Freeze in an airtight container for up to 3 months, leaving a little room for expansion. Thaw overnight in the refrigerator; the texture may need whisking to come back together.
- Reheating: Warm gently in a saucepan, whisking often, until it reaches 165°F. If it has thickened too much, whisk in a small splash of low-sodium turkey broth; high heat can scorch the gravy before it warms evenly.
Questions That Come Up While Making Turkey Gravy
Turkey Gravy from Drippings
Ingredients
Method
- Strain the turkey drippings into a fat separator and let stand for 5 minutes.
- Measure 1/4 cup of the separated fat, adding unsalted butter if needed to reach that amount.
- Heat the fat in a medium saucepan over medium heat.
- Whisk in the flour and cook for 2 to 3 minutes, whisking constantly, until the roux is pale golden and smells nutty.
- Measure the defatted pan juices and add turkey broth to make 3 cups total.
- Gradually whisk the liquid into the roux until smooth.
- Bring the gravy to a gentle simmer.
- Cook for 5 to 8 minutes, whisking often, until it thickens and coats the back of a spoon.
- Stir in the salt and pepper, taste, and add more salt if needed.