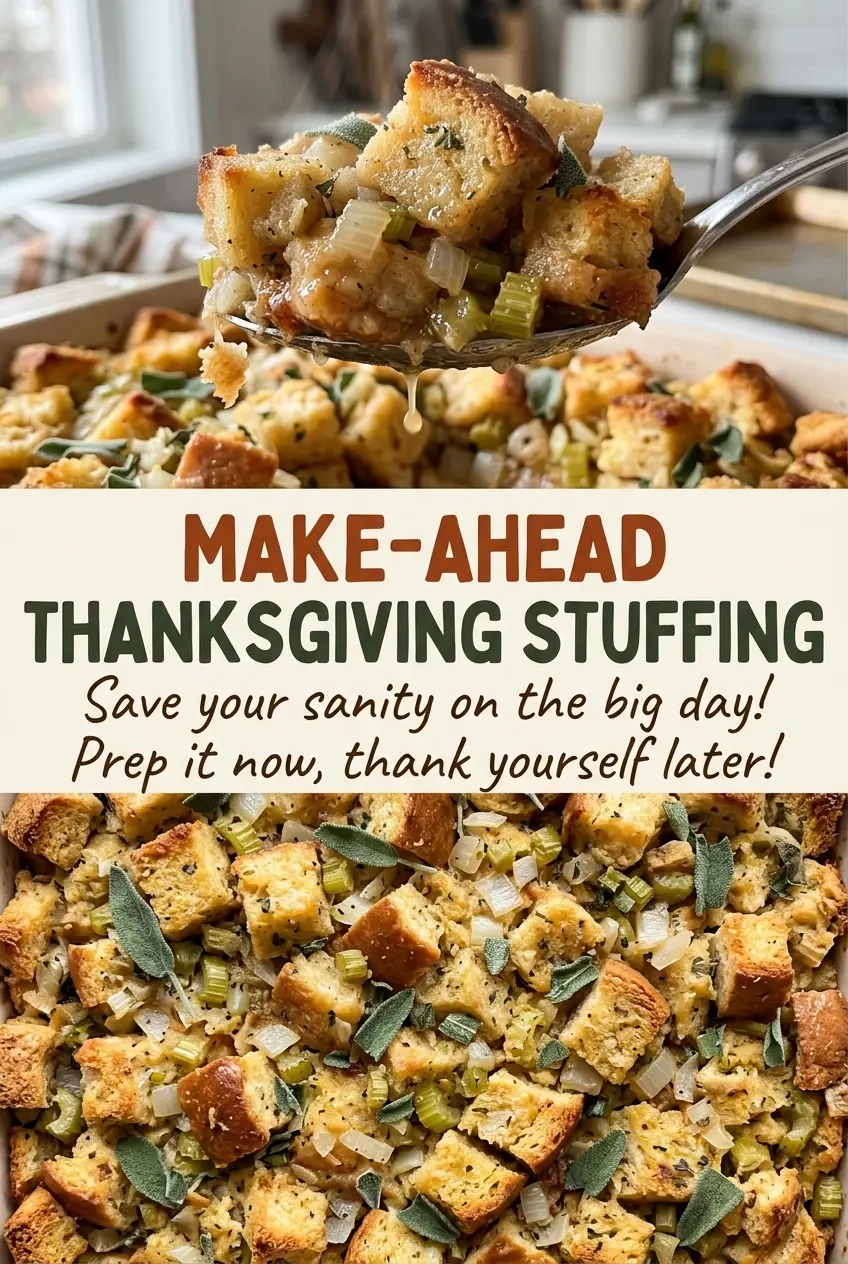
The bread cubes tell you when they’re ready: they should feel dry and crisp, not just toasted at the edges. Getting that texture right gives the broth and eggs somewhere to go without leaving a soggy layer at the bottom of the dish. I like this Make-Ahead Thanksgiving Stuffing because the oven work is split into two calm stretches, and the assembled dish can wait in the refrigerator until it’s time to bake.
The sturdy white bread keeps the flavor familiar and lets the onion, celery, and fresh herbs come through. I toast the cubes ahead, cook the vegetables until tender, then toss everything with broth and eggs so each piece is moistened evenly. The covered bake warms the center while the final uncovered stretch gives the top its golden finish.
It serves 10, and the hands-on work can be done before the busy part of the meal begins. After a short rest, you’ll have tender stuffing underneath with crisp edges on top.
Kitchen Note
Cover the dish tightly before it goes into the refrigerator. A snug cover protects the moistened bread while it waits, so the surface doesn’t dry out before baking.
Save this Make-Ahead Thanksgiving Stuffing for a holiday meal with tender, herb-scented bread and a golden top that bakes while you finish the rest of dinner.
Why Dry Bread Makes Better Make-Ahead Stuffing
Stuffing needs to absorb broth without collapsing into a dense, wet layer. Fresh bread still holds plenty of moisture, so adding the broth and eggs to it can leave the finished dish heavy even when the top looks browned. Drying the cubes first gives them a firmer structure and room to take in the savory liquid later.
That’s especially useful when the dish is assembled ahead. The bread has time to absorb the seasoned broth and egg mixture in the refrigerator, but it still needs enough structure to hold its shape through baking. Aim for cubes that are crisp all the way through after cooling, rather than merely browned on the outside. Then toss the liquid through thoroughly; a few dry pockets can bake up tough while the wetter pieces turn soft. Even moisture at the mixing stage is what makes the texture consistent from the center to the edges.
What the Bread, Broth, and Herbs Each Bring
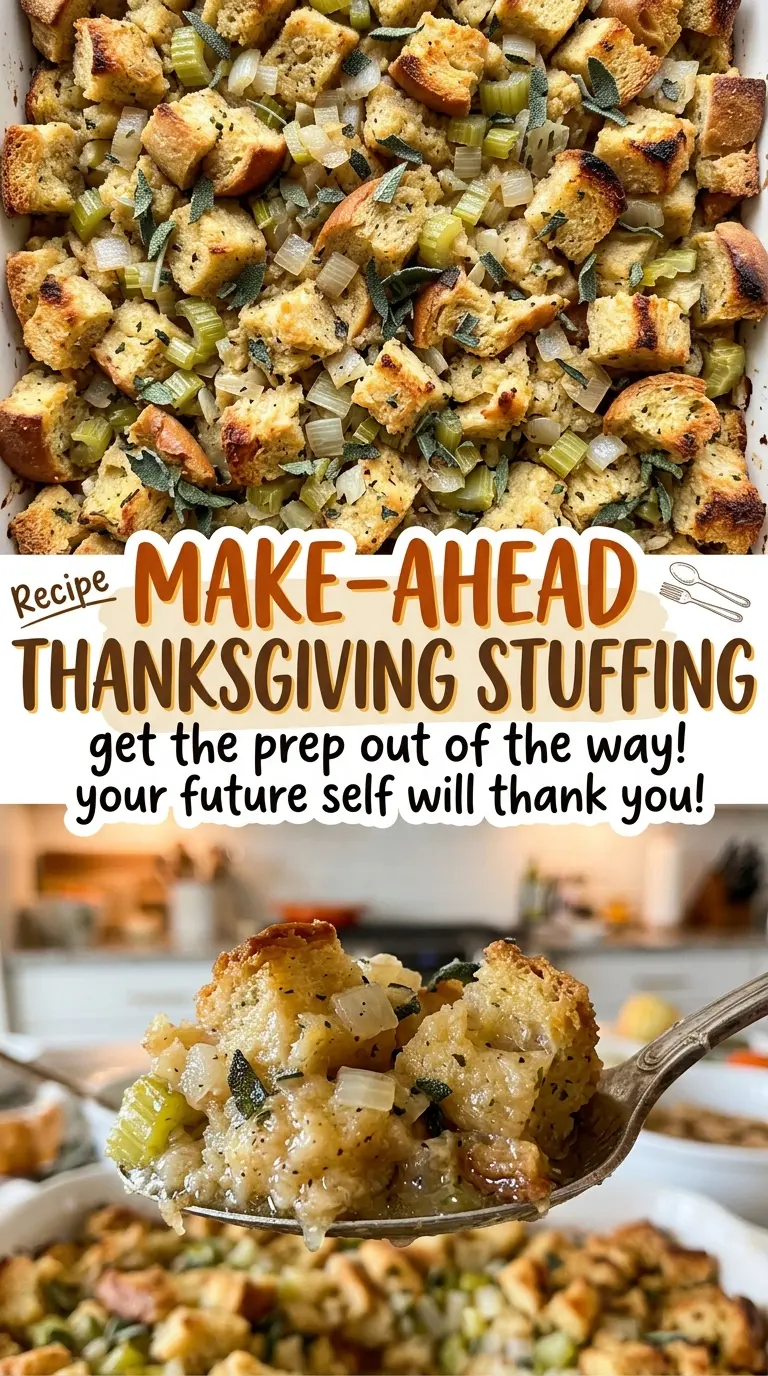
- Sturdy white bread — A firm loaf holds its shape after drying and soaking, without bringing a strong flavor that competes with the herbs. Use bread that feels substantial rather than soft and squishy; the cubes need to dry through before they meet the broth.
- Unsalted butter — It carries the onion, celery, and herbs as they cook, and unsalted butter gives the measured kosher salt room to season the whole dish. The onion and celery should be tender before the bread goes in, so their flavor doesn’t stay sharp.
- Yellow onion and celery — These form the savory base and add moisture and gentle sweetness. Finely chopping them helps them distribute through the bread instead of leaving large, watery pieces in a few bites.
- Fresh sage and thyme — Both herbs give the stuffing its familiar savory aroma, but they aren’t interchangeable in character: sage is woodsy and distinctive, while thyme is more delicate and grassy. Fresh leaves should look lively, not wilted or browned.
- Fresh parsley — Parsley adds a clean, green note that balances the richer butter and broth. Choose crisp bunches; limp leaves won’t bring the same fresh lift.
- Low-sodium chicken broth and eggs — The broth seasons and moistens the dried bread, while the eggs help the mixture set into a cohesive casserole. Low-sodium broth keeps the salt level more predictable, and the eggs should be whisked thoroughly into the broth before pouring.
Build the Stuffing in Four Stages
Dry the Bread Until Crisp
Heat the oven to 300°F and spread the bread cubes across two large rimmed baking sheets. Bake for 30–40 minutes, stirring the cubes and rotating the pans halfway through so they dry evenly. They should feel dry and crisp rather than soft in the middle. Let them cool completely before combining them with the butter mixture.
Soften the Onion and Celery
Use a 12-inch skillet to melt the remaining butter over medium heat, then add the finely chopped onion and celery. Cook for 8–10 minutes, stirring occasionally, until the vegetables are tender. If they’re still firm or crunchy, give them more time in the skillet before adding the herbs. Stir in the sage, thyme, salt, and pepper, cook for 1 minute, then take the skillet off the heat.
Moisten Every Cube Evenly
Put the cooled bread cubes in a large bowl and add the skillet mixture and parsley. Toss to spread the buttery vegetables through the bread, then whisk the broth and eggs together in a separate medium bowl. Pour that mixture over the cubes and toss until everything is evenly moistened. Check the bottom of the bowl as you toss; liquid can settle there, leaving some cubes soaked and others dry.
Bake Covered, Then Brown the Top
Transfer the mixture to the greased 9×13-inch baking dish, cover tightly, and refrigerate for up to 24 hours. When you’re ready to bake, heat the oven to 350°F and bake the dish covered for 45–55 minutes. Uncover and bake for another 20–25 minutes, until the center reaches 165°F and the top is golden brown. Let the stuffing rest for 10 minutes before serving so it can settle and cut cleanly.
Two Herb Changes That Keep the Stuffing Familiar
A Milder, Thyme-Led Version
Leave out the sage and keep the listed thyme and parsley. The stuffing will still have a fresh herbal note, but it won’t have sage’s more pronounced, woodsy character. This is a simple choice for anyone who prefers a gentler herb flavor.
A Sage-Forward Pan
Leave out the thyme and keep the sage and parsley. The flavor leans warmer and more woodsy, with fewer competing herbal notes. The bread, broth, eggs, vegetables, and baking method stay the same.
Storage and Reheating
- Refrigerator: Store baked leftovers covered for 3–4 days. The top will soften as it sits, while the center stays tender.
- Freezer: Freeze cooled portions in an airtight container for up to 1 month for best quality. Thaw in the refrigerator before reheating.
- Reheating: Warm covered in the oven until heated through, then uncover briefly if you want to bring back some crispness on top. Leaving it uncovered the whole time can dry out the bread before the center warms.
Questions That Come Up Before the Stuffing Goes in the Oven
Make-Ahead Thanksgiving Stuffing
Ingredients
Equipment
Method
- Heat the oven to 300°F.
- Grease a 9x13-inch baking dish with 1 tablespoon of the butter.
- Spread the bread cubes across 2 large rimmed baking sheets and bake for 30–40 minutes, stirring and rotating the pans halfway through, until dry and crisp.
- Let the bread cubes cool completely.
- Melt the remaining 11 tablespoons butter in a 12-inch skillet over medium heat, add the onion and celery, and cook for 8–10 minutes, stirring occasionally, until tender.
- Stir the sage, thyme, salt, and pepper into the skillet and cook for 1 minute, then remove from the heat.
- Put the bread cubes in a large bowl, add the skillet mixture and parsley, and toss to combine.
- Whisk the broth and eggs in a medium bowl, pour over the bread mixture, and toss until evenly moistened.
- Transfer the stuffing to the prepared baking dish, cover tightly, and refrigerate for up to 24 hours.
- Heat the oven to 350°F and bake the stuffing covered for 45–55 minutes.
- Uncover and bake for 20–25 minutes, until the center reaches 165°F and the top is golden brown.
- Let the stuffing rest for 10 minutes before serving.