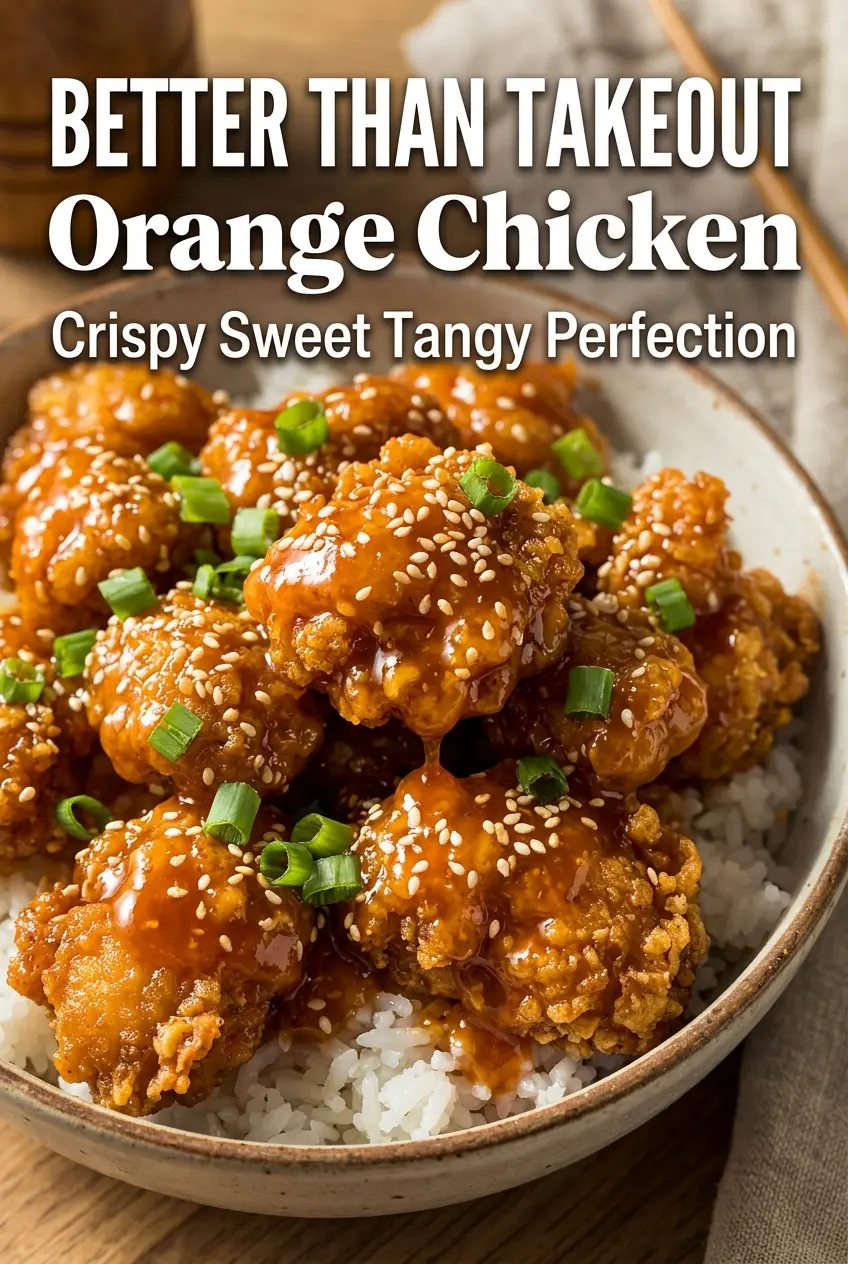
Crispy orange chicken earns its place in the weeknight rotation because it gives you that takeout-style crunch without turning the kitchen into a project. The chicken stays shatteringly crisp under a glossy orange sauce that lands sweet, tangy, and savory all at once, and the whole dish moves fast once the frying starts.
The trick is building two separate textures and bringing them together at the very end. The chicken gets a cornstarch-and-flour coating over egg, which fries up lighter than a straight flour dredge, and the sauce thickens on the stove before the chicken ever goes in. That timing matters. If you toss the chicken into the sauce too early, the coating goes soft before it has a chance to hold onto any crunch.
Below, I’ve added the little details that make this one work consistently: how thick the sauce should look before you add the chicken, what to do if your oil runs hot, and a few swaps that still keep the dish balanced.
The sauce thickened up right away and stayed glossy, and the chicken still had crunch even after tossing it. My son asked if I could pack the leftovers for lunch the next day, which never happens with saucy chicken.
Save this crispy orange chicken for the nights when you want takeout-style crunch and a glossy homemade orange sauce.
The Reason the Coating Stays Crispy After the Sauce Goes On
Orange chicken falls apart when the coating is too heavy or the sauce is too thin. A thick dredge traps steam and gives you a bready shell that softens fast, while a watery sauce never clings well enough to coat the chicken. This version uses cornstarch in the breading to keep the crust light, then relies on a properly thickened sauce so it hugs the chicken instead of soaking into it.
The other piece that matters is batch frying. Crowding the pan drops the oil temperature, and that’s when the coating goes pale and greasy instead of crisp. You want the chicken pieces to move from golden to deep golden with little bubbles around the edges, then come out to a paper towel-lined plate while you finish the sauce.
What the Chicken Coating and Orange Sauce Are Each Doing Here
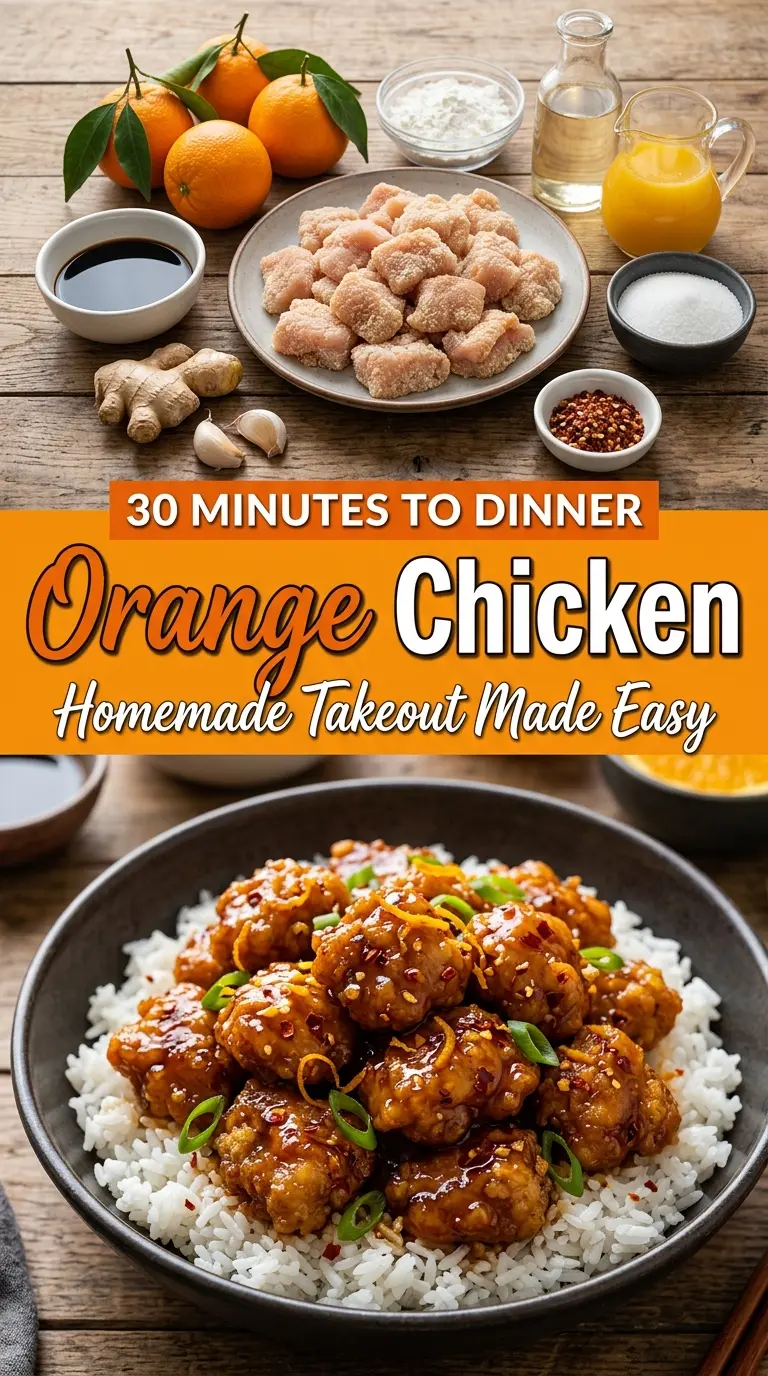
- Chicken breasts — Breast meat stays tender if you cut it into even bite-sized pieces and fry it quickly. Thighs also work if you want a richer result, but they’ll cook a touch longer and won’t give quite the same clean bite.
- Cornstarch and flour — The cornstarch lightens the coating and helps it crisp; the flour gives it enough body to cling to the egg. If you use all flour, the crust turns heavier and more breaded. If you use all cornstarch, the shell can get a little fragile.
- Orange juice and zest — Juice brings the bright citrus note, but zest gives the sauce the real orange aroma. Fresh zest matters here. Bottled juice alone tastes flat and sweet without that top note that makes orange chicken taste like orange chicken.
- Soy sauce, brown sugar, and rice vinegar — This is the balance point. Soy gives salt and depth, brown sugar rounds out the sharpness, and vinegar keeps the sauce from tasting candy-sweet. If you need a gluten-free version, use tamari instead of soy sauce.
- Garlic and ginger — These keep the sauce from reading as one-note citrus glaze. Fresh is best, especially for ginger, because powdered ginger won’t give the same clean heat or lift.
From Frying Pan to Glossy Sauce Without Losing the Crunch
Coating the Chicken Evenly
Whisk the eggs until smooth, then combine the flour, cornstarch, salt, and pepper in another bowl. Dip each piece of chicken into the egg first, then into the dry mixture so every surface is coated. The goal is a thin, even crust, not a thick clump of breading; if the pieces look pasty, shake off the excess before frying.
Frying to a Deep Golden Edge
Heat the oil to 350°F and work in batches. The chicken should sizzle as soon as it hits the pan and turn golden in about 4 to 5 minutes. If the oil is too cool, the coating drinks it up; if it’s too hot, the outside browns before the inside cooks through, so steady heat matters more than speed.
Building the Orange Sauce
Combine the orange juice, soy sauce, brown sugar, vinegar, zest, garlic, and ginger in a saucepan and bring it to a gentle simmer. Stir the cornstarch slurry again before adding it, because cornstarch settles fast and a separated slurry can leave lumps behind. The sauce should go from thin and glossy to noticeably thicker, coating a spoon in a light film.
Tossing at the Last Minute
Add the fried chicken only after the sauce has thickened. Toss just long enough to coat every piece, then stop. The longer the chicken sits in the pan, the more the crust softens, and this dish is at its best when the coating still has a little crunch under the glaze.
How to Adapt This Orange Chicken Without Losing the Balance
Gluten-Free Orange Chicken
Swap the all-purpose flour for a 1:1 gluten-free flour blend and use tamari in place of soy sauce. The coating stays crisp, but the texture may be slightly more delicate, so handle the chicken gently once it’s fried.
Baked Instead of Fried
You can bake the coated chicken on a greased rack at 425°F until cooked through and lightly crisp, then toss it with the sauce. It won’t taste exactly like fried orange chicken, but the rack helps air circulate so the bottom doesn’t steam.
A Lighter, Less Sweet Sauce
Cut the brown sugar back slightly if you want the citrus to lead more than the sweetness. The sauce will still thicken and cling, but the finish will be sharper and less takeout-style.
Storage and Reheating
- Refrigerator: Store leftovers in an airtight container for up to 3 days. The coating softens as it sits, but the flavor holds well.
- Freezer: Freeze the fried chicken and sauce separately for the best texture. The sauce freezes well; the chicken loses some crunch once thawed, but it still works after reheating.
- Reheating: Reheat the chicken in a hot oven or air fryer until the outside perks back up, then warm the sauce separately and toss together at the end. Microwaving everything together softens the crust fast and turns the chicken soggy.
Answers to the Questions Worth Asking
Easy Orange Chicken
Ingredients
Equipment
Method
- Whisk the eggs until smooth in a bowl so the coating sticks evenly to each bite.
- In a separate bowl, combine the flour, cornstarch, salt, and black pepper until the mixture is uniform.
- Dip each chicken piece into the eggs, then coat it in the flour mixture so the surface is thick and even.
- Heat vegetable oil in a deep skillet to 350°F (175°C) until it reaches a steady frying temperature.
- Fry the chicken in batches for 4–5 minutes until golden and crispy, then transfer to a paper towel-lined plate to drain.
- In a saucepan, combine orange juice, soy sauce, brown sugar, rice vinegar, orange zest, minced garlic, and grated ginger.
- Bring the mixture to a gentle simmer, stirring occasionally until the flavors meld.
- Mix cornstarch and water in a small bowl to make a slurry, then stir it into the simmering sauce.
- Cook the sauce until thickened, so it coats the back of a spoon.
- Add the crispy chicken to the sauce and toss until fully coated, keeping the chicken crisp as much as possible.
- Garnish with sliced green onions and sesame seeds, then serve immediately over steamed rice.