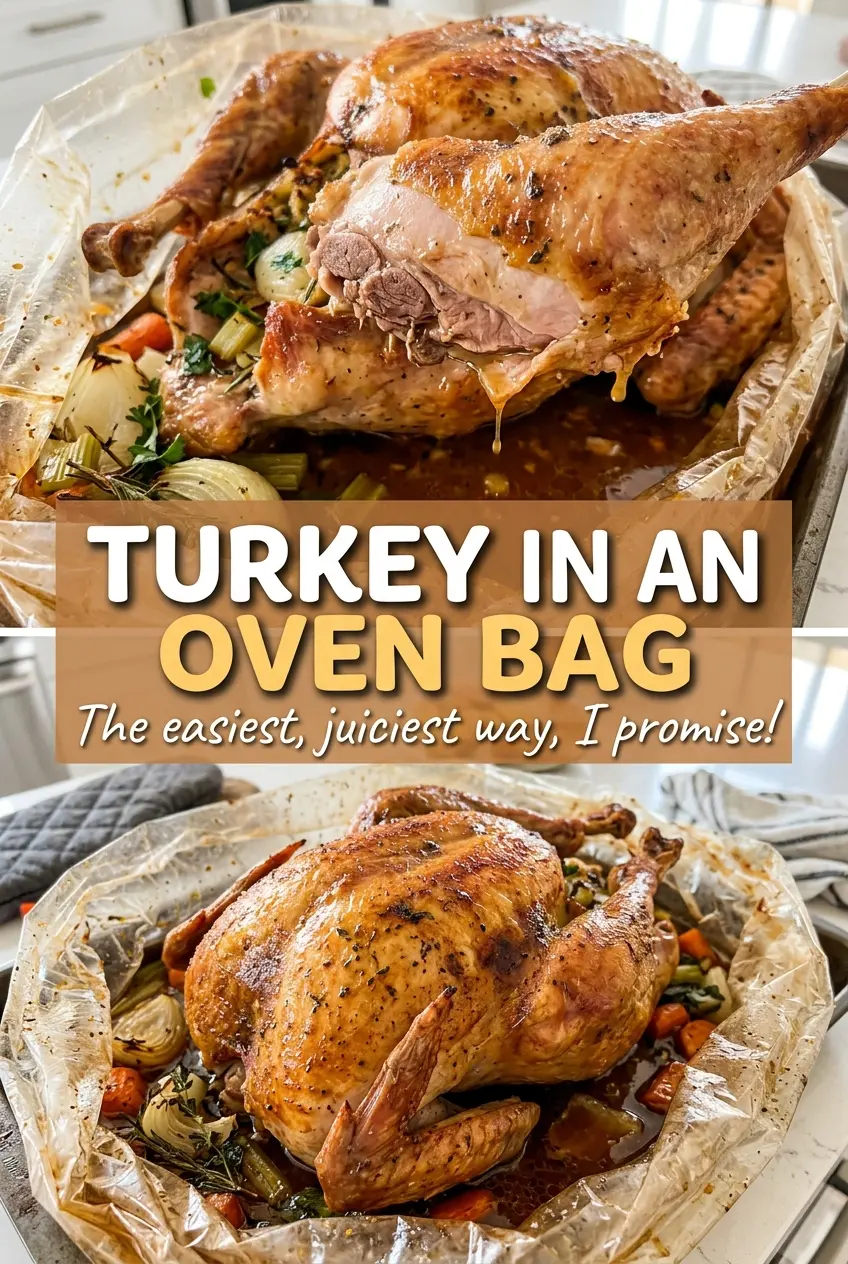
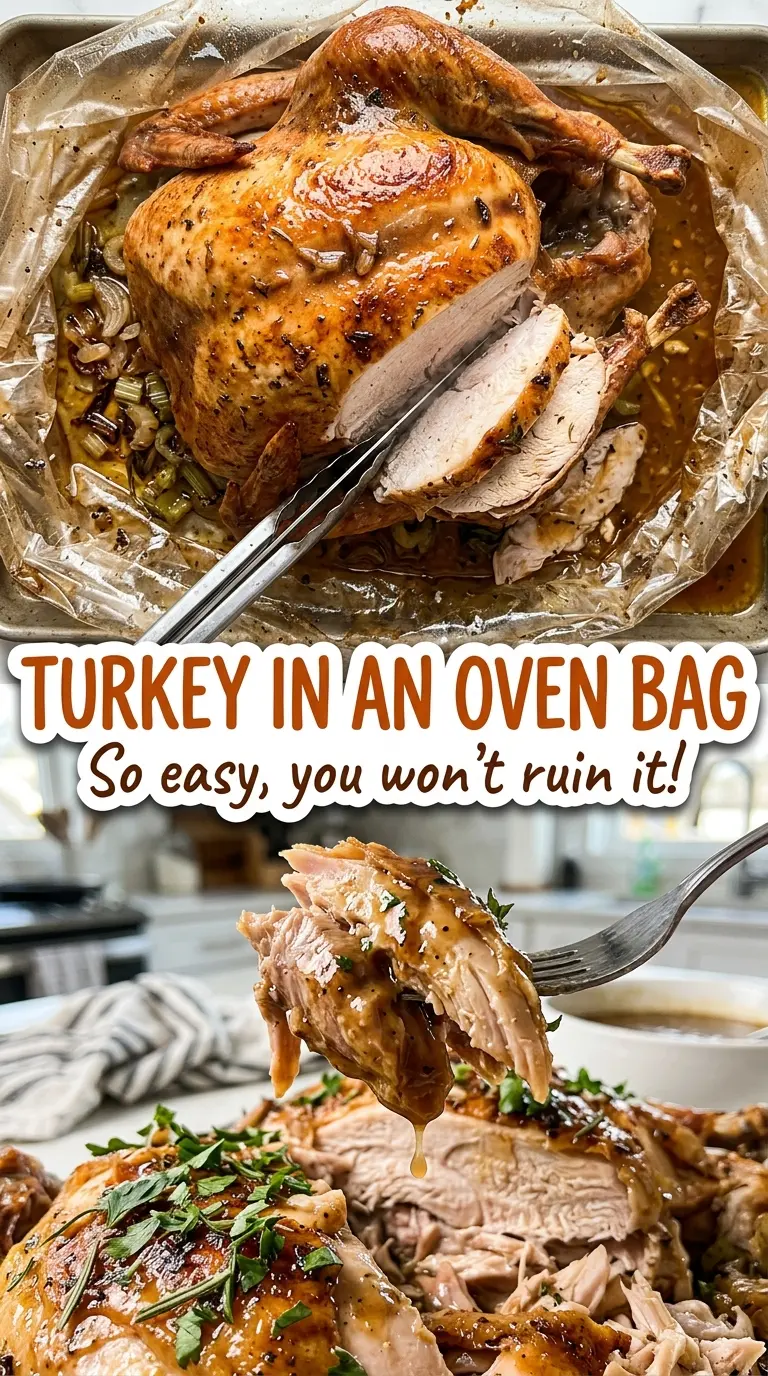
The oven bag begins to puff as the turkey roasts, holding in the steam and keeping the meat from drying out as quickly as it can in an open pan. That’s what makes Turkey in an Oven Bag a practical choice when you want a whole bird without tending to it every few minutes. The turkey goes into the bag breast-side up, and the onion and celery underneath add savory aroma while it cooks.
I pat the turkey dry before rubbing on softened butter so the seasoning has a better chance to stay in place. The bag changes the texture you should expect: the meat stays moist, but the skin won’t have the same dry, crackly finish as an uncovered roast. A thermometer, rather than the color of the skin or the clock alone, tells you when the breast and thigh are ready. After the short rest, you’ll have tender slices with gentle seasoning and plenty of savory juices.
Kitchen Note
Those six small cuts in the top of the bag are deliberate vents. Keep them small and evenly spaced rather than slicing the bag wide open; you want the bag to hold steam as the turkey roasts.
Save Turkey in an Oven Bag for a tender roast with simple seasoning and an easy-to-check finish.
Why the Skin Won’t Turn Crackly in an Oven Bag
An oven bag creates a moist cooking environment. That’s useful for keeping a whole turkey from losing moisture too quickly, but it also means the skin doesn’t dry out the way it does in an uncovered roasting pan. Butter and seasoning still give the skin color and flavor, yet this isn’t the method to choose when crisp skin is your main goal.
The bag also changes how much attention the bird needs. Once it’s closed and vented, there’s no need to baste it; opening the bag during roasting releases the steam the method depends on. Let the thermometer settle the doneness question instead of judging by browned skin. The breast and thigh can finish at different rates, so check both areas and keep the thermometer tip away from bone. That’s a more reliable signal than assuming the turkey is ready because the outside looks done.
Think of this as a moist, contained roast rather than an uncovered bird with crisp skin. The flour coating helps prepare the bag for the juices released as the turkey cooks, while the vegetables sit beneath the bird. That arrangement keeps the process straightforward without asking you to build a separate bed or baste along the way.
What the Flour, Butter, and Vegetables Do in the Bag
- All-purpose flour — Shaking it inside the oven bag coats the interior before the turkey goes in. Don’t skip this preparation or dump the flour loose into the pan; the point is to distribute it over the bag’s surface. If you need a gluten-free adaptation, a gluten-free all-purpose flour blend can stand in for the regular flour.
- Whole turkey — Choose a fully thawed bird in the stated 12- to 14-pound range so it fits the turkey-size bag and the roasting window is appropriate. Removing the neck and giblets before seasoning leaves the cavity clear and avoids having them cook inside the bird.
- Unsalted butter — Softened butter spreads over the skin more evenly than cold butter and helps the seasonings adhere. Unsalted butter also lets the measured kosher salt remain the main source of salt in the coating. If dairy doesn’t work for you, olive oil is a practical skin-coating swap, though it won’t bring the same buttery taste.
- Onion, celery, and poultry seasoning — The onion and celery add savory aroma beneath the turkey as it roasts; they aren’t a crisp side dish. Poultry seasoning gives the simple butter coating its familiar herby flavor. Fresh-looking vegetables are nice, but there’s no need to buy specialty produce for this use.
- Kosher salt and black pepper — These season the outside directly, so scatter them evenly rather than leaving one heavily seasoned patch. The recipe uses unsalted butter to keep the salt level easier to control.
How to Roast the Turkey Without Losing the Bag’s Steam
Set Up the Oven and Bag
Place an oven rack in the lower third of the oven and heat the oven to 350°F. Put the flour in a turkey-size oven bag, close the opening, and shake until the inside is coated. Set the bag in a 2-inch-deep roasting pan before adding anything else; the pan supports the bag and catches any juices that escape. Add the onion wedges and celery pieces inside the bag.
Dry and Season the Turkey
Pat the fully thawed turkey dry so the softened butter can spread over the skin instead of sliding across a wet surface. Rub the butter over the outside, then season evenly with kosher salt, black pepper, and poultry seasoning. Check that the neck and giblets have been removed before you move the bird to the bag. Take a moment to season across the whole surface, including the sides.
Close the Bag and Make the Vents
Set the turkey breast-side up over the onion and celery. Close the bag with its tie, following the bag’s fit around the bird rather than pulling it tight against the skin. Cut six 1/2-inch slits in the top of the bag to vent it. Keeping the openings on top leaves the turkey enclosed while allowing steam to escape.
Roast, Check, and Rest
Roast for 2 to 2 1/2 hours. Insert a thermometer into the thickest part of the breast and the innermost part of the thigh, taking care not to touch bone; both spots need to read 165°F. If one area hasn’t reached that point, continue roasting and check again rather than relying on the appearance of the skin. Once both readings are there, let the turkey rest in the bag for 20 minutes, then carefully cut the bag open away from you and transfer the bird to a carving board.
Three Practical Ways to Change the Seasoning or Coating
Make the coating dairy-free
Replace the softened butter with the same amount of olive oil and rub it over the turkey skin before adding the seasonings. The oil works as a coating, but the finished skin won’t have the same buttery flavor. Keep the roasting temperature, bag, and doneness checks unchanged.
Use a gluten-free flour blend
Swap the all-purpose flour for an equal amount of gluten-free all-purpose flour blend, then shake it through the oven bag in the same way. This keeps the bag-coating step intact while making the recipe suitable for a gluten-free table. The blend may leave a slightly different texture in the drippings, but it doesn’t change how you roast the turkey.
Give it a simpler, peppery finish
Leave out the poultry seasoning and let the black pepper stand alongside the salt and butter as the main seasoning. The turkey will taste less herby and more direct, which is a useful option if you prefer a plainer roast. Keep the onion and celery in the bag for their savory aroma.
Storage and Reheating
- Refrigerator: Store carved turkey in a covered container for 3 to 4 days. Refrigerate it within 2 hours; the meat may firm up as it chills.
- Freezer: Freeze carved portions in airtight freezer containers for up to 4 months for best quality. Smaller portions are easier to thaw and reheat without drying out.
- Reheating: Cover sliced turkey in a microwave-safe dish and heat in short intervals until steaming hot throughout. Avoid one long, uncovered heating; it can dry the breast before the thicker pieces warm through.
Questions That Come Up Before the Turkey Goes in the Oven
Turkey in an Oven Bag
Ingredients
Equipment
Method
- Set an oven rack in the lower third of the oven.
- Preheat the oven to 350°F.
- Put the flour in a turkey-size oven bag and shake to coat the inside.
- Set the bag in a 2-inch-deep roasting pan.
- Add the onion and celery to the bag.
- Pat the turkey dry and rub the softened butter over the skin.
- Sprinkle the salt, pepper, and poultry seasoning evenly over the turkey.
- Set the turkey breast-side up in the bag over the vegetables and close the bag with its tie.
- Cut six 1/2-inch slits in the top of the bag.
- Roast for 2 to 2 1/2 hours, until a thermometer inserted in the thickest part of the breast and the innermost part of the thigh reads 165°F in both places, without touching bone.
- Let the turkey rest in the bag for 20 minutes.
- Carefully cut the bag open away from you.
- Transfer the turkey to a carving board.